










Rustic Wine Barrel Fire Pit Shell: A Complete DIY Guide
Introduction: The Charm of a Wine Barrel Fire Pit
There’s something almost magical about taking an old wine barrel and turning it into a working fire pit. The weathered oak staves, the iron hoops, the rich patina that built up over years of aging wine — it all comes together into something that looks like it belongs in a rustic vineyard courtyard. Whether you want a cozy heat source for patio gatherings or just a serious conversation piece, a DIY wine barrel fire pit shell gives you both in one satisfying project.
This project has taken off in the DIY community, and honestly, it’s easy to see why. Unlike a concrete or cast iron fire pit you’d pick up at a home improvement store, a wine barrel fire pit has a story baked into it. A lot of the barrels people use for this are genuine retired cooperage pieces sourced straight from wineries, which means every finished project has its own personality that you simply can’t replicate with something off a shelf. It’s genuinely one of a kind.
What sets this particular build apart from others you might find online is the single-door design and the decision to skip the sand-and-oil treatment. A lot of tutorials push that approach, but filling the bottom with sand or soaking the wood in oil can actually trap moisture and cause the barrel to rot from the inside out. This build goes a different direction — keeping things cleaner, more breathable, and more durable in the long run. It’s a method that works well whether you’re a first-timer or someone who’s been woodworking for years.
Materials and Tools You Will Need
Before you pick up a saw or drill, get everything gathered and ready to go. The star of the show is obviously the barrel itself. You’re looking for a used 59-gallon Bordeaux-style oak barrel, which is the most common size and the easiest to find through winery supply shops, cooperages, or online resellers. When you’re shopping, take a close look at the condition — the staves should be solid, the hoops snug, and there shouldn’t be any soft or spongy wood that signals serious rot. A little surface weathering actually adds to the look, but the barrel needs to be structurally sound. That part isn’t negotiable.
Beyond the barrel, the list of additional supplies is pretty short. You’ll need a metal fire ring or firebox insert — this is the piece that sits inside the barrel to contain the actual flames and keep the wood from getting direct heat exposure. You’ll also need hinges, a latch, and a handle for the door, plus weatherproof screws or bolts rated for outdoor use. A wire mesh screen for the top rounds out the functional hardware and keeps sparks from flying out during a fire.
On the tool side, a jigsaw or reciprocating saw is your main cutting tool for shaping the door opening. A power drill handles all the fastener work, and a sander or sanding block takes care of any rough edges left after cutting. Round it out with a tape measure, a pencil or chalk line for marking, and your safety gear — goggles, gloves, and hearing protection. Getting everything laid out ahead of time makes the whole build go a lot more smoothly.
- Used 59-gallon oak wine barrel in good structural condition
- Metal fire ring or firebox insert sized to fit the barrel interior
- Hinges (2–3), a latch, and a door handle rated for outdoor use
- Weatherproof screws or carriage bolts
- Spark arrestor wire mesh screen
- Jigsaw or reciprocating saw
- Power drill and assorted bits
- Sandpaper (80 grit and 120 grit)
- Tape measure, pencil, and square
- Safety goggles, gloves, and hearing protection
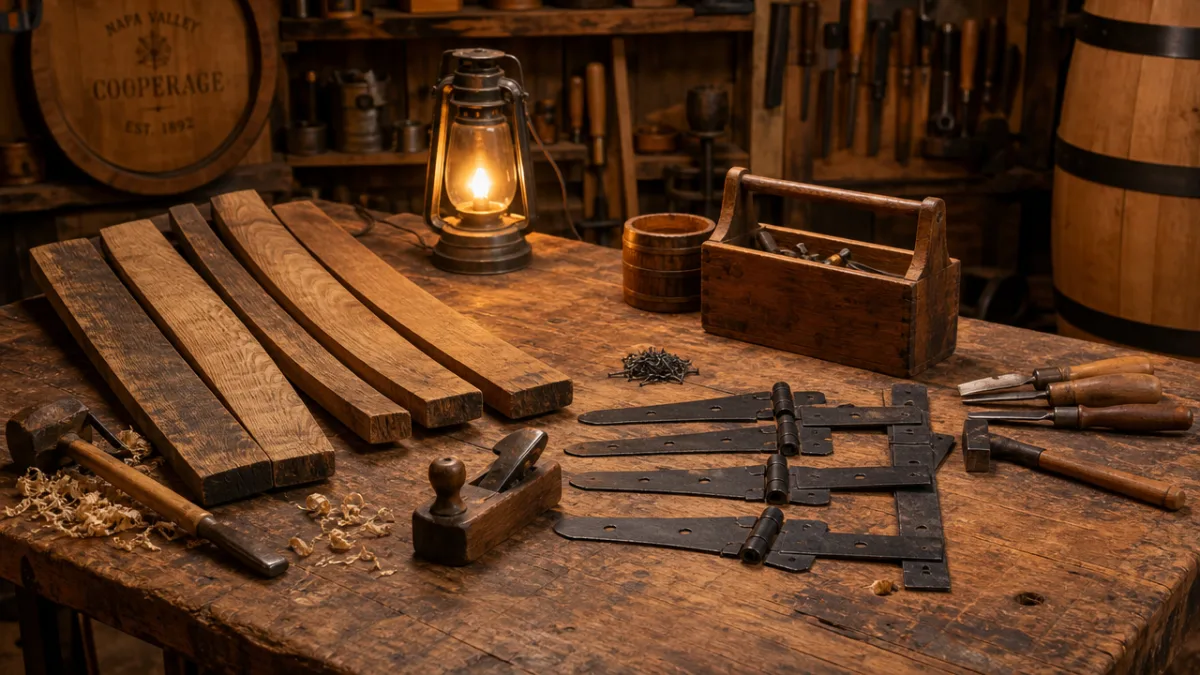
Preparing the Barrel: Cutting the Door Opening
The first big step is cutting the door opening, and it’s probably the part of this project that demands the most care and patience. Start by setting the barrel on a stable, flat surface — a rubber mat or a sheet of plywood on the ground works great to keep it from rolling around on you. Orient it so the bung hole, if there is one, faces up or to the side rather than toward the area where you’re planning to cut. It keeps things cleaner and makes it easier to lay out a symmetrical opening.
Use a pencil and a flexible straightedge to mark out your door. A good target size for this style of build is roughly 8 inches wide by 10 inches tall, placed in the lower third of the barrel’s side. That position gives you easy access to the interior for lighting the fire and moving logs around, while keeping the opening proportionate to the barrel. Use a square to check your corners, and measure twice before you let the saw anywhere near it — the old carpenter’s rule applies here as much as anywhere.
When you’re ready to cut, use a jigsaw with a fine-tooth blade and follow your lines slowly and deliberately. Oak is dense and hard, and if you try to rush it you risk splintering the staves or walking the blade off your line. Once the panel comes free, set it aside — that cutout is going to become your door. Sand all the cut edges well to clear out any splinters, and use a rasp or coarse sandpaper to slightly round the corners of the opening. That small step helps prevent cracking as the wood moves with changes in humidity over time.
Installing the Door and Hardware
With the opening cut and cleaned up, it’s time to hang the door. Lay the door panel flat on your work surface and position the hinges along one vertical edge, spacing them evenly — one near the top, one near the bottom, and one in the middle if you’re going with three. Pre-drill pilot holes for every screw before you drive anything in; oak will split if you skip that step. Stainless steel or zinc-plated hardware is worth the small extra cost here because it holds up against heat, humidity, and the general punishment of outdoor use.
Attach the hinges to the door panel first, then hold the whole assembly up to the barrel opening to transfer the hinge positions onto the barrel wall. Getting this alignment right makes a real difference — a door that hangs crooked or binds in the opening gets annoying fast. If you can, grab a second person to hold the door in position while you do the marking. Once you’ve got your marks, drill pilot holes into the staves and fasten everything down. Swing the door open and closed several times before moving on to make sure it’s hanging right.
Next, install the latch on the side opposite the hinges. A simple barrel bolt or hasp latch fits the aesthetic perfectly and gives a satisfying, solid feel. Then mount the door handle on the exterior face at a comfortable grip height. Since this door is going to get opened while things nearby are still warm from a fire, a handle with a wood or heat-resistant grip is a smart choice, not just a nice-to-have. Once everything’s mounted, run through the open-close-latch cycle a few more times to confirm it all moves freely and locks up securely.
- Position hinges on the door panel and pre-drill pilot holes.
- Fasten hinges to the door panel with weatherproof screws.
- Hold the door in the opening and transfer hinge positions to the barrel.
- Drill pilot holes into the barrel staves and attach hinges to the barrel.
- Test the door swing and adjust as needed before continuing.
- Install the latch on the side opposite the hinges.
- Mount the door handle at a safe, comfortable height.
- Perform final swing and latch tests to confirm smooth operation.
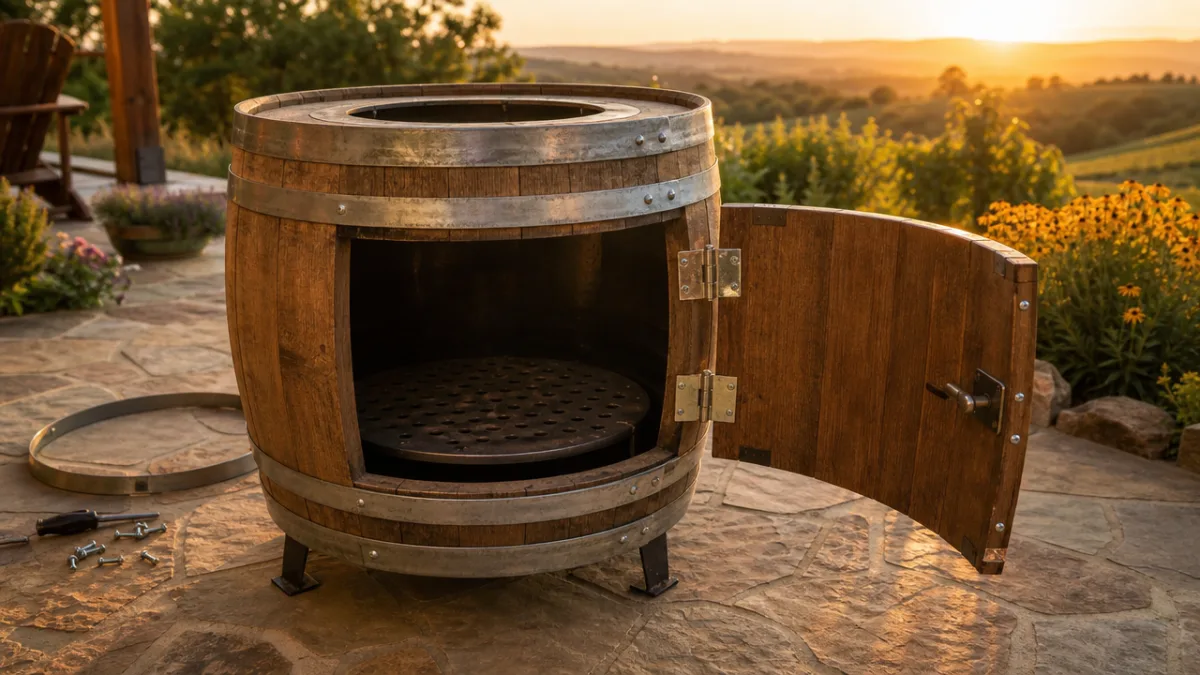
Installing the Fire Insert and Finishing Touches
The fire insert is what actually makes this thing safe to use. A metal fire ring — usually heavy-gauge steel or cast iron — sits inside the barrel and keeps the combustion contained so the wood of the barrel never comes into direct contact with open flame. When you’re picking one out, choose an insert with a diameter a few inches smaller than the barrel’s interior to leave room for airflow around the sides. Some inserts come with built-in legs that lift them slightly off the bottom, which is a nice feature because it improves air circulation and reduces heat transfer to the wood underneath.
Lower the insert into the barrel through the top and center it inside. If yours didn’t come with legs, you can improvise simple standoffs using steel bolts or small feet cut from angle iron — either approach creates the gap you need beneath the firebox. Once the insert is sitting in place, set the wire mesh spark arrestor screen over the top opening of the barrel. It does two things at once: it stops sparks from landing on guests or nearby surfaces, and it adds a bit of structural support to the top of the barrel so it doesn’t warp or spread from the heat cycles over time.
For the finishing details that take this from a functional build to something you’re genuinely proud of, a few small steps go a long way. Lightly sand the exterior of the whole barrel to freshen up the wood grain and knock off any dirt or loose fibers picked up during the build. You can apply a single coat of exterior-grade tung oil or danish oil to the outer surface — just the outside, not the interior — to bring out the depth of the oak and give it a bit of weather resistance without sealing it so tight that it can’t breathe. Then wipe down all the hardware and give every fastener one last look before you light your first fire.
Safety Guidelines and Ongoing Maintenance
Any wood-framed fire pit calls for some common sense around safety, and this one is no different. Always set it up on a non-combustible surface — a flagstone patio, a concrete pad, or packed gravel all work well. Never use it on a wooden deck, dry grass, or anything else that could catch from radiant heat or a stray spark. Keep at least ten feet of clearance between the fire pit and any structure, fence, overhang, or plantings. And keep a bucket of water or a small fire extinguisher within arm’s reach any time you have a fire going.
For fuel, stick to seasoned hardwood in pieces small enough to sit inside the metal insert without sticking up past the rim. Don’t burn treated lumber, painted wood, cardboard, or household trash — those materials put out toxic fumes and produce ash and creosote that will damage both the insert and the barrel over time. Skip the lighter fluid or gasoline entirely. A simple fire starter cube or a good kindling arrangement is all you need to get a clean, manageable fire going without the added risk.
Upkeep is simple but worth staying on top of if you want this to last. After each use, let the fire burn all the way down and the ash cool completely before scooping it out with a metal ash scoop. Every so often, look inside the barrel for any charring on the staves — if you’re seeing that, it means the fire insert needs to be repositioned or swapped out. Check all the hardware once a season for rust or loosening and deal with it before it becomes a bigger issue. And if you’re in a wet climate, covering the fire pit or storing it somewhere sheltered during long stretches of rain or cold weather will do a lot to extend its life.
- Always place on a non-combustible surface with ten feet of clearance around it.
- Keep water or a fire extinguisher nearby whenever the fire pit is in use.
- Burn only seasoned hardwood — never treated wood, trash, or accelerants.
- Remove cooled ash after every use using a metal scoop.
- Inspect interior staves periodically for charring or damage.
- Check and tighten all hardware at the start of each season.
- Cover or store the fire pit during prolonged wet or winter weather.
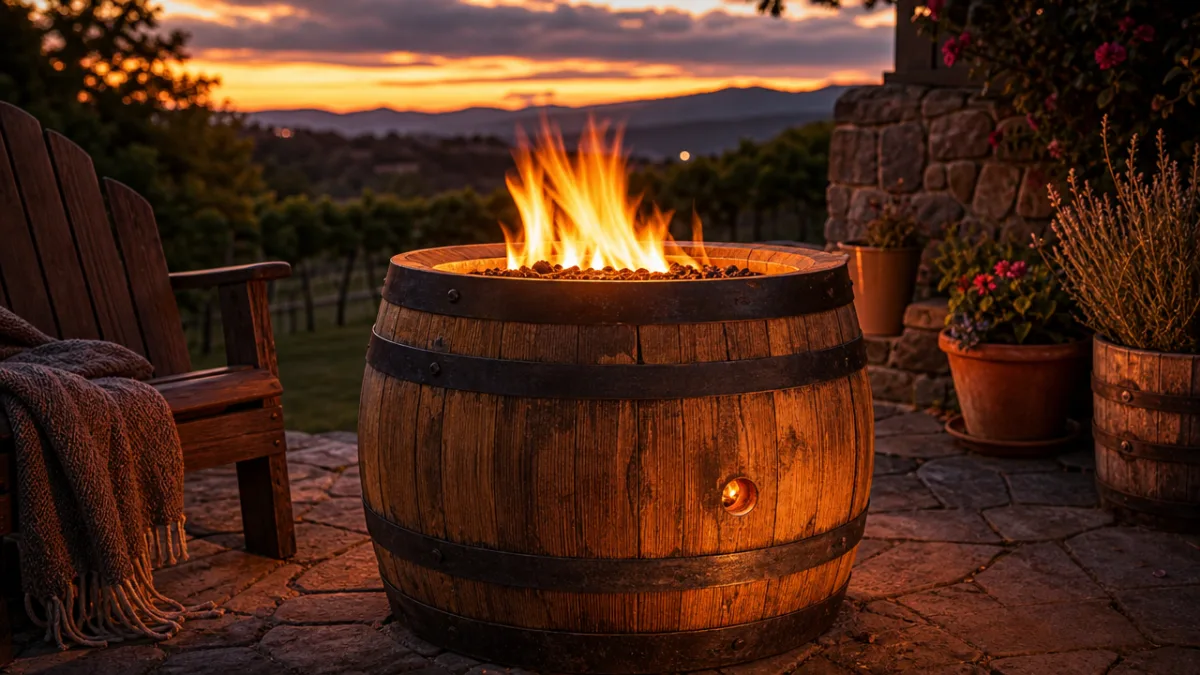
Why Skip the Sand and Oil Treatment?
If you’ve been researching wine barrel fire pit builds, you’ve probably run into tutorials that call for filling the bottom with sand and soaking the exterior in oil. It comes up constantly. But there are good reasons this build leaves both of those steps out. Sand in the bottom of the barrel creates a dense, moisture-retaining layer that sits directly against the wood. In any climate that gets regular rainfall, that trapped moisture quietly rots the staves from the inside out — and because it’s happening inside the barrel, you often don’t realize how bad it’s gotten until you’ve already got a real problem.
Heavy exterior oil treatments have their own issues. Raw linseed oil in particular is a well-known fire hazard when it’s soaked into rags or absorbent materials, and slathering it onto something you’re going to light fires in introduces a risk that just isn’t worth taking. On top of that, sealing the wood too heavily prevents the natural moisture exchange that actually keeps barrel wood supple and crack-resistant. A single light coat of a refined oil on the outside only is plenty — it adds some weather resistance without turning the wood into a sealed, moisture-trapping shell.
By relying on the metal fire insert to handle heat containment, and letting the barrel’s naturally open construction handle ventilation, this design sidesteps both of those problems. The insert protects the wood from direct flame, and the breathable structure of the barrel means condensation and humidity can escape rather than collecting inside. What you end up with is a fire pit that stays good-looking and works reliably season after season without a lot of fuss — which is exactly what a well-thought-out DIY project should do.








What do you think?
It is nice to know your opinion. Leave a comment.