










Easy to Make Card Holder: A Complete Step-by-Step Guide to Crafting Your Own Stylish Organizer
Introduction: Why You Should Make Your Own Card Holder
Let’s be honest — cards have a way of taking over your life. Business cards, gift cards, loyalty cards, credit cards… they pile up fast, and finding the one you actually need in a hurry is its own special kind of frustration. A good card holder fixes all of that. It’s a small thing, but it genuinely makes a difference in your day-to-day life. And here’s the thing: making one yourself is way more satisfying than buying one, and honestly not that hard to do.
What makes the DIY route so appealing is that you’re in total control. Store-bought holders come in whatever styles the manufacturer decided were worth making, and that’s it. When you make your own, you get to choose the material, the size, the colors, how many card slots you want — everything. Whether you’re into clean, minimal leather or something bold and colorful, you can make exactly what you’d actually want to use.
There’s also something really nice about giving a handmade card holder as a gift. It’s the kind of thing people genuinely appreciate because you clearly put thought into it. A new grad heading into their first job, a friend who can never find their loyalty cards, a colleague who’d get a kick out of something personalized — it works for just about anyone. So let’s get into it. This guide covers everything from materials to finishing touches, and it’s beginner-friendly, so don’t worry if you’ve never made anything like this before.
Materials and Tools You Will Need
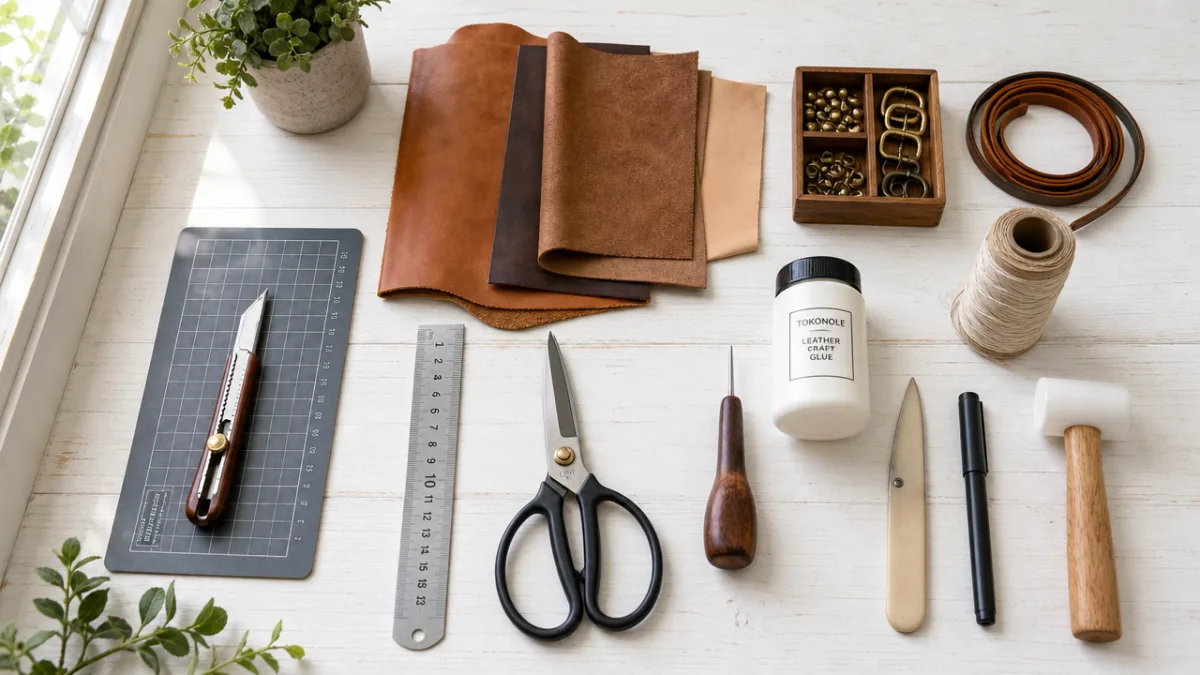
Before you start cutting anything, take a few minutes to get everything together. The good news is that this project doesn’t require a trip to a specialty shop — most of what you need is probably already at home, and anything else is cheap and easy to find at a craft store. Your biggest decision upfront is what material to use for the main body of the holder. Fabric, faux leather, felt, cork sheet, and thick decorative paper all work well, and each gives a pretty different final result in terms of look and how long it’ll hold up.
Beyond your main material, you’ll need a few basic tools to keep things looking neat and professional. Sharp scissors or a craft knife with a cutting mat are your best friends here — clean edges make a huge difference in how polished the finished piece looks. A ruler and a pencil or fabric marker help you measure and mark before you cut, which saves a lot of frustration. For bonding everything together, fabric glue, leather cement, or a hot glue gun all do the job well depending on what you’re working with. If you’d rather sew, a needle and thread or a basic sewing machine works beautifully too.
Here is a quick reference list of everything you may need depending on your chosen style:
- Main material: fabric, faux leather, felt, cork sheet, or thick decorative paper
- Sharp scissors or a craft knife and cutting mat
- Metal ruler for straight, accurate cuts
- Pencil, chalk pen, or fabric marker for tracing
- Strong fabric glue, leather cement, or a hot glue gun with glue sticks
- Binder clips or clothespins to hold pieces while adhesive dries
- Decorative elements: ribbon, buttons, snap closures, magnetic clasps, or iron-on patches
- Optional: sewing machine or needle and waxed thread for stitched finishes
- Cardstock or thin foam sheet as an inner stiffener for added structure
Once you’ve got everything gathered, set yourself up at a clean, flat surface with decent lighting. It sounds like a small thing, but having your tools laid out and within reach before you start really does make the whole process smoother. Measure out your materials, get your decorative bits ready to go, and you’re all set. A little prep time upfront saves a lot of backtracking once you’re in the middle of things.
Step-by-Step Instructions for Making a Basic Card Holder
Alright, time to actually make the thing. First, figure out your size. A standard credit or business card is about 3.5 inches by 2.125 inches, so you’ll want your panels to be a bit bigger than that to give the cards some room — around 4 inches by 2.5 inches is a good starting point. If you’re planning to carry a lot of cards, you might go a little wider or taller on the base panel. Use your ruler and marker to draw your cutting lines on the back of the material before you make any cuts, so you’re not guessing.
Cut two identical rectangles from your material — these become the front and back of your holder. Then cut one or two smaller rectangles for the inner pockets. These should be roughly the same width as your main panels but about half the height, since they just need to be tall enough to hold cards in without covering them completely. If you want multiple card slots, cut several pocket pieces at slightly different heights so they stack in a staggered way, with each card peeking out a little above the one below it. It’s a small detail that makes the whole thing much easier to use.
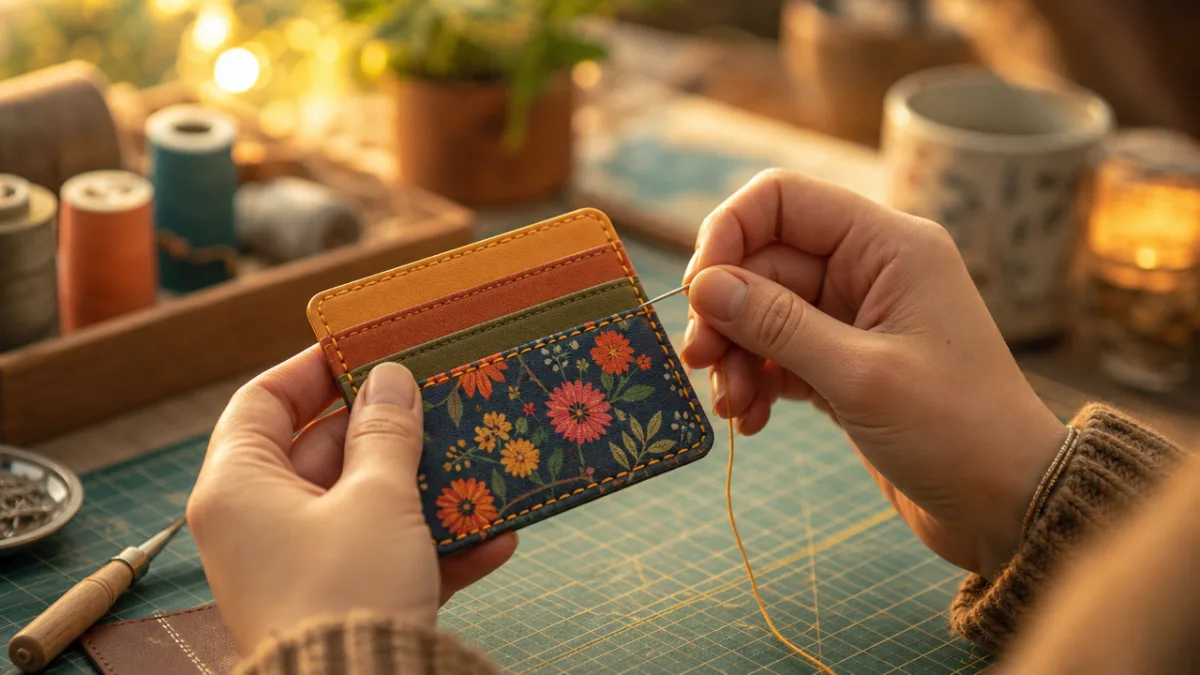
With all your pieces cut, start attaching the pocket pieces to one of the main panels. Put your adhesive along the bottom and side edges of each pocket piece — but not the top, since that’s where the cards go in. Press each piece firmly onto the panel and use binder clips along the edges to hold everything while the glue sets. If you’re sewing instead, stitch along those same edges with a consistent seam allowance. Either way, take your time here because these seams get a lot of daily wear.
Once the pockets are secure, join the front and back panels together by gluing or sewing around the outer edges, with all the pocket pieces sandwiched inside. Leave the top edge open on each side so you can actually get to your cards. This is also the point where you can add a center fold if you want a bifold-style holder that tucks away more compactly. Let everything dry fully before you start using it — it’s tempting to peek, but giving the adhesive time to cure properly makes for a much stronger finished product.
Creative Design Ideas and Customization Tips
This is honestly the most fun part. Once the basic structure is sorted, you get to make it look like something you’d actually want to carry around. There are no rules here, and even small creative choices can completely change the feel of the finished piece. Try mixing materials — cork on the outside with a smooth fabric lining, or two contrasting shades of faux leather for something bold and modern. These little combinations are what make a handmade holder look genuinely interesting rather than just functional.
Embellishments are where you can really let loose. Iron-on patches, embroidery, fabric paint, rubber stamps — all of these add personality without a lot of extra effort. For something more refined, a thin ribbon trim around the edges or a small magnetic snap closure can give the holder a polished, almost boutique feel. Adding your initials with fabric paint or a few embroidery stitches is one of those touches that makes it feel unmistakably yours.
Here are some popular design styles to inspire your next card holder project:
- Minimalist Modern: Use a single piece of sleek black faux leather with clean, straight stitching in a contrasting white or gold thread for a sophisticated, professional look.
- Boho Fabric Patchwork: Combine small squares of colorful, patterned cotton fabrics in complementary prints for a lively, eclectic design that feels handcrafted and unique.
- Geometric Cork and Leather: Use natural cork sheet as the main material with leather trim for an eco-conscious, earthy aesthetic that is both stylish and sustainable.
- Floral Embroidered Felt: Craft a soft felt holder and hand-embroider small flowers or botanical motifs across the front panel for a delicate, artistic finish.
- Transparent Vinyl Insert: Add a clear vinyl window pocket to the front so your ID card or transit card is always visible without needing to be removed from the holder.
One thing worth thinking about is how your card holder will work alongside the other accessories you already use. If you can match or complement the colors and textures of your bag or wallet, the whole thing looks more pulled-together without much extra effort. And if you’re making it as a gift, think about what the person’s style is actually like — their favorite colors, their hobbies, whether they’d prefer something understated or something that makes a statement. A design made with someone specific in mind always lands better than a generic one.
Tips for Durability and Long-Lasting Quality
Making something that looks great is satisfying on its own, but making something that still looks great a year from now takes a bit more thought. The spot most likely to give out first is the adhesive along the edges and pocket seams — that’s just where all the stress from daily use accumulates. The fix is simple: use the right glue for your material. Fabric glue for textiles, leather cement for genuine or faux leather, and a good hot glue for felt and paper-based projects. Using the wrong adhesive is a shortcut that tends to catch up with you pretty quickly.
If you really want to add longevity, reinforce your seams. Even if you’re going the glue-only route, adding a simple line of stitching along the bottom corners of the card pockets makes a noticeable difference. Those corners take a beating every time you pull a card out, and thread holds up to that kind of repeated stress in a way that adhesive alone just doesn’t. A running stitch or backstitch in a matching or contrasting color works perfectly and adds a nice handmade detail at the same time.
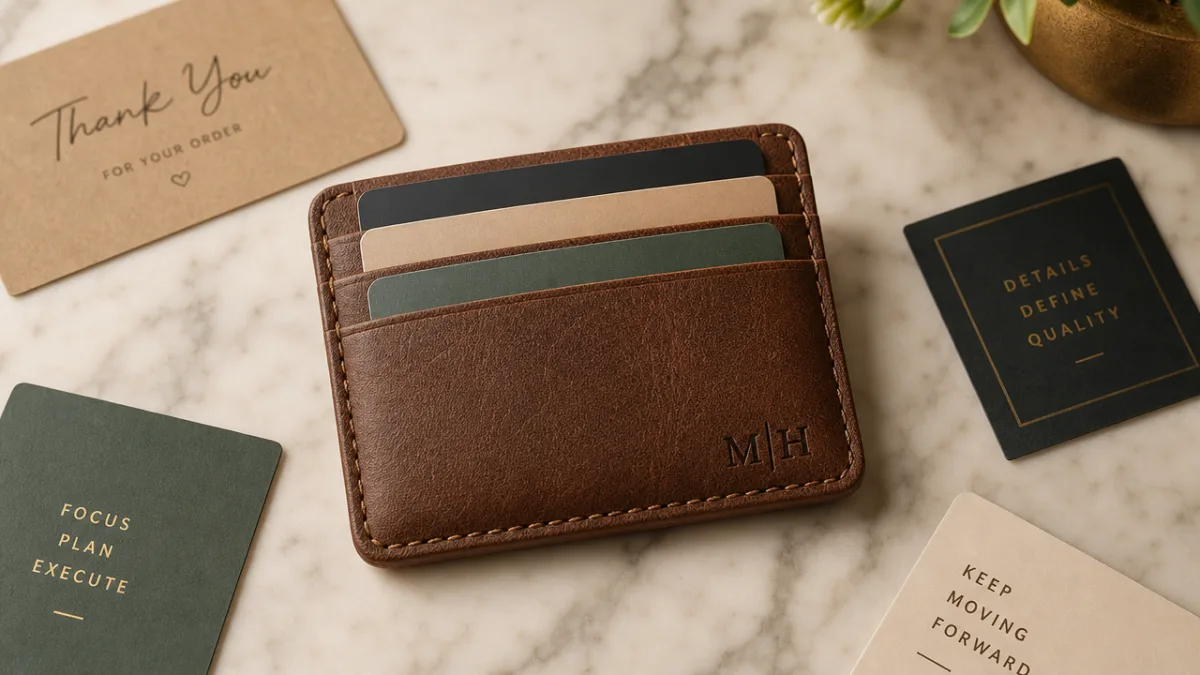
Your material choice matters a lot here too. Genuine leather and high-quality faux leather are probably your most durable options — they don’t fray, they resist moisture reasonably well, and they tend to age nicely rather than just falling apart. If you prefer fabric, go for something tightly woven like cotton or canvas rather than anything thin or loosely woven, which tends to wear through quickly at the spots you touch most often. Adding a layer of thin cardstock, craft foam, or fusible interfacing inside the holder also helps it keep its shape and prevents that floppy, worn-out look that can develop over time.
Don’t skip finishing the raw edges — it’s one of those details that seems minor until your holder starts fraying and looking shabby after a few months. For fabric, a thin line of fray-check liquid sealant along cut edges does the trick, or you can fold and glue the edges inward before assembly for a cleaner look. For leather and faux leather, a little leather edge finisher or a thin line of matching paint along the cut sides prevents cracking and gives the whole thing a polished finish that honestly makes it look like you bought it somewhere nice.
Gifting, Storing, and Caring for Your Handmade Card Holder
A handmade card holder makes a genuinely great gift — one of those things people are always a little surprised and delighted by. It works for almost any occasion: birthdays, graduations, a new job, just wanting to show someone you were thinking of them. The effort it takes to make one comes through in a way that a gift card or a last-minute online order simply doesn’t. When you’re presenting it as a gift, a little packaging goes a long way — some tissue paper in a small box, a ribbon, and a handwritten note about the materials or the design choices you made with that person in mind makes it feel really special.
For everyday storage, the main thing is not to cram the holder somewhere it doesn’t fit. Keeping it flat in a bag or drawer rather than wedged into a tight pocket preserves the shape of the card slots and keeps the material from stretching or creasing in ways that are hard to reverse. If you’ve made a leather or faux leather holder, try to keep it out of direct sunlight when it’s not in use — UV exposure fades the material and dries it out over time, especially along the fold and edges where it’s already under the most stress.
Taking care of your card holder doesn’t have to be complicated. For fabric versions, spot cleaning with a damp cloth and a little mild soap handles most everyday dirt. Try to avoid soaking the whole thing in water since that can weaken the glue and cause fabric to shrink or warp. For leather and faux leather, a gentle wipe-down with a slightly damp cloth is usually enough for regular cleaning, and a light application of leather conditioner every few months keeps the material from drying out and cracking. It takes about five minutes and makes a real difference in how the holder looks and feels over time.
And finally — don’t be afraid to fix things as they come up. One of the best things about making something yourself is that you know exactly how it’s put together, which means repairs are pretty straightforward. A bit of fresh adhesive along a lifting seam, a new decorative element layered over a worn spot, or even fresh material on the exterior can give an old holder a whole new lease on life. There’s something genuinely satisfying about maintaining and refreshing something you made yourself rather than just tossing it when it shows a little wear. That’s really the whole spirit of making things by hand.








What do you think?
It is nice to know your opinion. Leave a comment.