










Crochet Alphabet Pattern for Cute Words: A Complete Guide
Introduction to Crochet Alphabet Patterns
Crochet alphabet patterns have become one of the most beloved and versatile techniques in the fiber arts community. Whether you want to spell out a baby’s name on a nursery blanket, create personalized gifts for loved ones, or design decorative wall hangings with meaningful words, mastering crochet letters opens up a world of creative possibilities. These patterns combine the meditative rhythm of crochet with the expressive power of written language, allowing crafters to produce truly unique and heartfelt pieces.
The beauty of crochet alphabet patterns lies in their adaptability. You can scale letters up or down depending on your project, work them in virtually any yarn weight, and combine them with countless stitch patterns and colorways. From chunky bohemian wall art to delicate lace lettering on baby garments, the same foundational alphabet skills apply across an enormous range of applications. This versatility makes learning crochet letters one of the most worthwhile investments a crafter can make in expanding their skill set.
In this comprehensive guide, we will walk you through everything you need to know about crochet alphabet patterns, from selecting the right materials and understanding foundational techniques to reading letter charts, assembling words, and finishing your projects beautifully. Whether you are a beginner picking up a hook for the first time or an experienced crafter looking to add lettering to your repertoire, this article has something valuable to offer you at every stage of your creative journey.
Choosing the Right Materials for Crochet Letters
Selecting the appropriate yarn and hook size is the first and perhaps most critical step in any crochet lettering project. For beginners, a smooth, medium-weight yarn in a solid color is strongly recommended because it allows you to see your stitches clearly and count rows accurately. Cotton yarn is particularly popular for alphabet projects because it holds its shape well, has minimal stretch, and produces crisp, defined edges that make letters look neat and legible. Acrylic yarns are also an excellent choice for their durability, washability, and wide range of available colors.
Hook size should be matched carefully to your chosen yarn, following the manufacturer’s gauge recommendations as a starting point. However, for lettering projects specifically, many crafters prefer to go down one hook size from the recommendation to create a tighter, firmer fabric that helps letters maintain their shape over time. A tighter gauge also reduces gaps between stitches, which is especially important if you are making standalone letter appliqués or stuffed letters that need to hold their form without showing fiberfill through the fabric.
Beyond yarn and hooks, you will want to have a few essential tools on hand. A yarn needle is indispensable for weaving in ends neatly and for seaming letters together when assembling words. Stitch markers help you track the beginning of rounds in amigurumi-style three-dimensional letters, and they are useful for marking reference points when working from charts. Small sharp scissors, a tape measure, and blocking materials such as blocking mats and pins will round out your toolkit and help you achieve professional-looking results every time you sit down to crochet.
Understanding Crochet Alphabet Chart Patterns
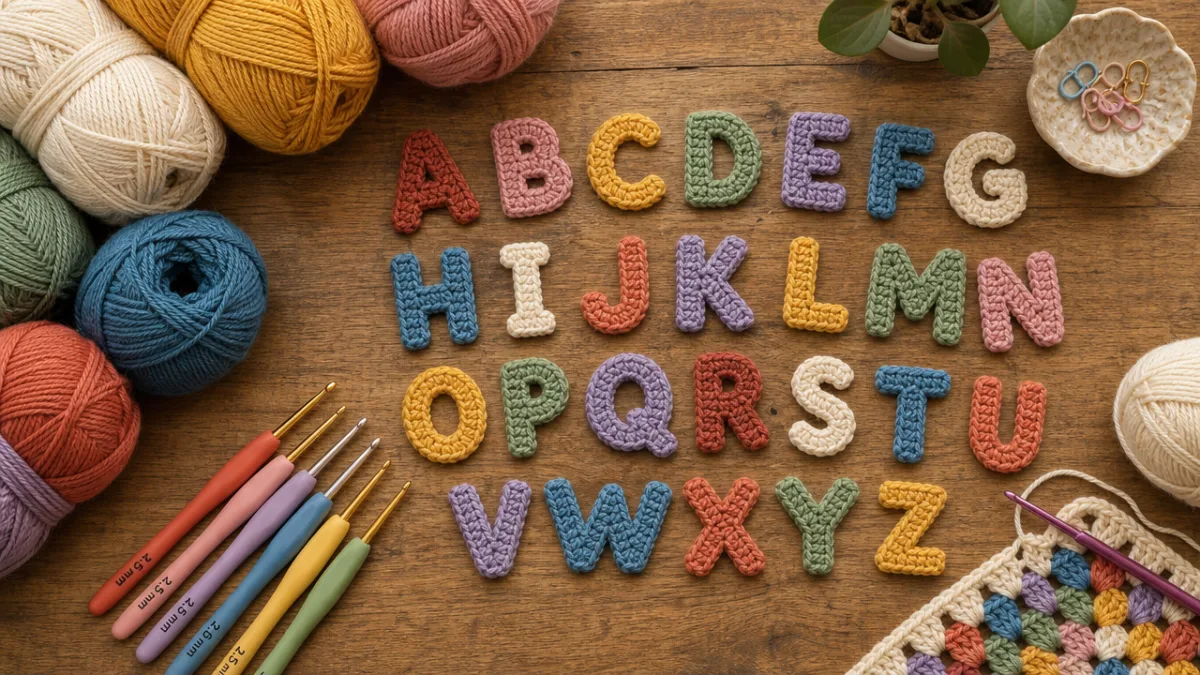
Most crochet alphabet patterns are presented in one of two formats: written row-by-row instructions or visual grid charts. Grid charts are particularly common for letter patterns because they give you an immediate visual representation of what the finished letter should look like, making it easier to track your progress and catch mistakes early. In a standard crochet letter chart, each square of the grid typically represents one stitch, and you read the chart from bottom to top, alternating the direction you read each row to reflect the back-and-forth movement of your hook as you work.
Color-coded charts often use two contrasting colors or symbols to distinguish between background stitches and letter stitches, which is especially helpful when you are working letters in a contrasting color against a solid background panel. Before you begin crocheting from any chart, it is a good practice to count the total number of stitches across and the total number of rows from top to bottom, then calculate how large your finished letter will be based on your personal gauge swatch. This prevents the frustrating experience of completing a letter only to discover it is far too large or small for your intended project.
Written instructions, on the other hand, describe each stitch action in sequence and are preferred by many crafters who find it easier to follow text than to track their position on a grid. Some patterns cleverly combine both formats, providing a chart as a visual reference alongside row-by-row written directions. When working from written instructions for alphabet patterns, pay close attention to stitch counts at the end of each row, as even a single missed or extra stitch can cause a letter to look distorted or uneven. Counting stitches consistently is the single most important habit you can develop for clean, accurate lettering work.
Step-by-Step Techniques for Crocheting Individual Letters
There are several distinct methods for creating crochet letters, and each has its own strengths depending on your project goals. The most common approach for flat, two-dimensional letters is the tapestry crochet method, where you carry a second color yarn across the back of your work and bring it forward to create the letter shape within a background panel. This technique produces a neat, reversible fabric and is ideal for blankets, dishcloths, and wall hangings where both sides of the piece may be visible. Tapestry crochet does require practice to maintain even tension, but the results are stunning.
Another popular method is creating standalone letter appliqués that are sewn or pinned onto a finished project. These are worked as independent flat pieces, following the outline of each letter, and can be attached to hats, bags, garments, or framed artwork. Appliqué letters are wonderfully flexible because you can design them separately and then mix and match them on different projects without committing to a specific placement until you are completely satisfied with the layout. This method also allows you to use multiple colors or textures for individual letters, creating playful and eye-catching effects.
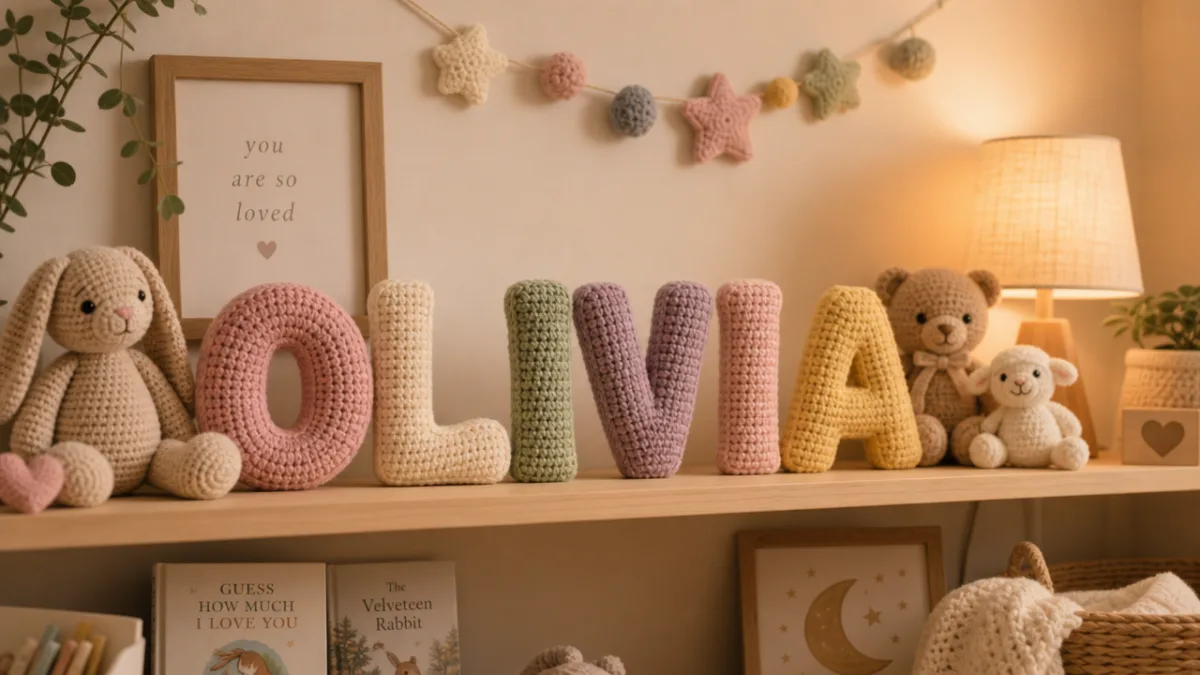
Three-dimensional stuffed letters represent a third and particularly charming technique, especially popular for nursery décor and children’s photo props. These letters are typically worked in continuous rounds using the amigurumi method, stuffed with polyester fiberfill, and finished with neatly sewn seams. The main challenge with three-dimensional letters is engineering the pieces so that they close cleanly at the sharp corners and curved edges that define each letter of the alphabet. Many designers address this by working the front and back panels of each letter separately and then joining them with a single crochet seam around the perimeter before stuffing.
Regardless of which method you choose, consistent stitch tension is the key to professional-looking results. Before beginning any letter project, work a gauge swatch in your chosen stitch pattern and yarn, wash and block it the way you plan to treat the finished piece, and measure it carefully. This small investment of time will pay enormous dividends when your finished letters are uniform, crisp, and exactly the right size to spell out the words you have in mind. Never skip the gauge swatch, no matter how eager you are to dive into the main project.
Designing Words and Phrases with Crochet Letters
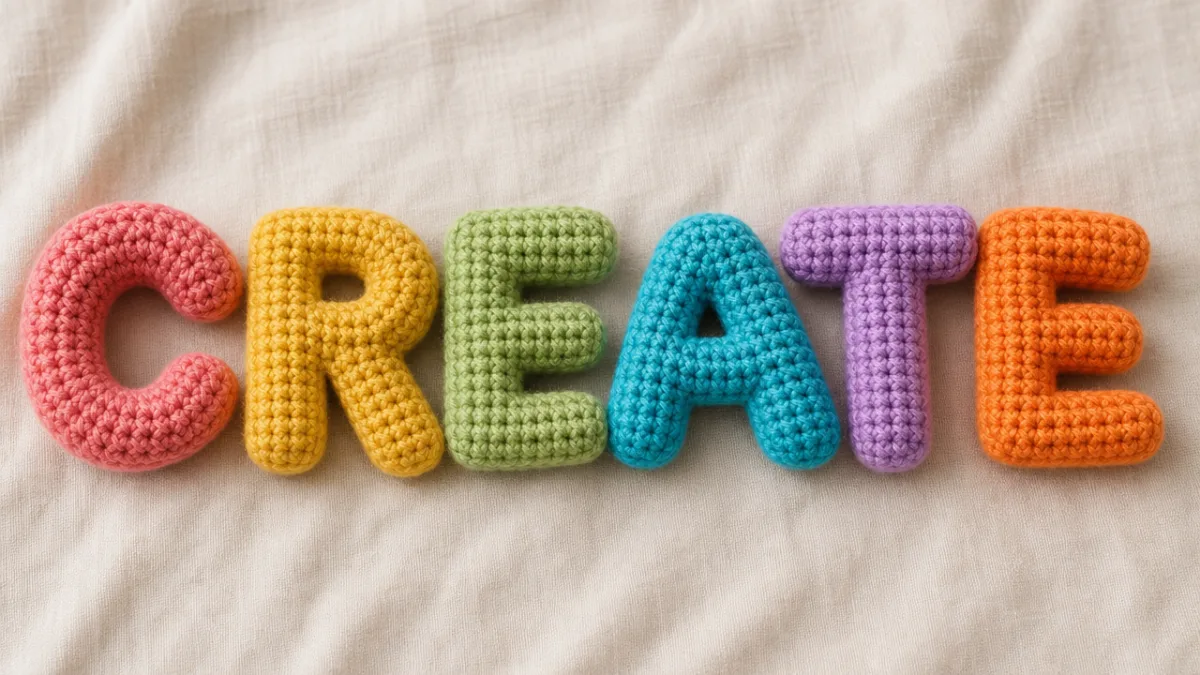
Once you have mastered individual letters, the exciting creative work of combining them into words and phrases begins. Before you start crocheting, it is well worth spending time planning your text layout carefully. Write out the full word or phrase you want to create and consider how much space you have available in your project. Think about letter spacing, alignment, and whether your text will be centered, left-aligned, or arranged in a more free-form decorative manner. Sketching your layout on graph paper beforehand can save you a great deal of frustration during the actual crocheting and assembly process.
Color selection plays a massive role in the visual impact of crochet lettering. High contrast between letter color and background color produces text that is easy to read from a distance, which is important for practical items like personalized gifts or nursery name signs. For purely decorative pieces where readability is less critical, you might explore more subtle tonal color combinations or even gradient effects where the letters transition through multiple shades. Experimenting with variegated or self-striping yarns in lettering projects can produce magical, unexpected results that add movement and life to your finished text.
When assembling standalone letter appliqués into words, consistent spacing between letters is crucial for a polished look. A helpful trick is to lay out all your finished letters on the background fabric or surface before sewing any of them down, then use pins or removable fabric markers to mark the exact placement of each letter. Step back and view the arrangement from a distance to assess how it looks as a whole. This “measure twice, cut once” approach helps you avoid the disappointment of sewing a letter in the wrong position and having to remove and reattach it, which can damage both the letter and the background material.
- Always plan your full word layout on paper before beginning to crochet individual letters, noting the total number of stitches or inches required for the complete word.
- Use blocking to even out any inconsistencies in stitch tension and to ensure that all letters in your word are exactly the same height before assembly.
- When working multi-row letter panels in a background piece, use stitch markers to indicate the starting position of each letter so you can keep them properly spaced and aligned.
- Consider the optical spacing of letters rather than strictly mathematical spacing — some letter combinations naturally appear closer or farther apart due to their shapes and may need adjustment.
- Keep a record of the exact yarn, hook size, and gauge used for your letters so you can replicate matching pieces in the future if needed.
Finishing Techniques and Project Ideas
The finishing phase of any crochet lettering project deserves just as much care and attention as the crocheting itself. Blocking is an essential step that transforms hand-crocheted letters from slightly wavy, uneven pieces into crisp, professional-looking shapes that will do justice to your hard work. To wet block crochet letters, dampen them thoroughly with cool water, gently squeeze out the excess moisture without wringing, lay them flat on a blocking mat, and use rust-proof pins to shape them carefully to their intended dimensions. Allow them to dry completely before unpinning and handling.
Weaving in yarn ends securely is another critical finishing task that is easy to rush but important to do properly. For each end, thread your yarn needle and weave the tail through at least ten to fifteen stitches in different directions to ensure it will not work loose over time, especially if the finished item will be washed regularly. Clip the end close to the fabric but not so close that you risk cutting through a stitch. For projects like baby blankets or children’s toys that will receive heavy use and frequent washing, consider adding a small drop of fabric glue to the woven-in end as extra security before trimming.
The range of projects you can create with crochet alphabet skills is truly inspiring and practically limitless. Personalized baby blankets with names crocheted directly into the fabric make treasured heirloom gifts that will be kept for generations. Nursery wall hangings spelling out words like “dream,” “love,” or “hello” add a handmade warmth to children’s spaces that no mass-produced décor can replicate. Tote bags, pillow covers, garment patches, bookmarks, holiday ornaments, and framed fiber art pieces are all wonderful applications for crochet lettering skills at every level of complexity.
For those interested in selling their crochet work, alphabet-based projects occupy a particularly strong niche in the handmade marketplace. Personalized items consistently command premium prices and generate enthusiastic customer loyalty because buyers feel a deep emotional connection to pieces made specifically for them. If you plan to sell crochet lettering work, invest time in developing a consistent, attractive font style that becomes your signature aesthetic, practice efficient production techniques to manage your time well, and photograph your finished pieces beautifully to showcase the quality and detail of your craftsmanship across online selling platforms and social media channels.
Tips for Beginners and Troubleshooting Common Problems
Every crafter who has worked with alphabet patterns has encountered challenges, and knowing how to troubleshoot common problems will save you time and frustration as you develop your lettering skills. One of the most frequent issues beginners face is uneven tension, which causes some letters in a word to appear larger or smaller than their neighbors. The solution is consistent practice with your gauge swatch, taking regular breaks to prevent tension creep that comes from gripping your hook more tightly as your hand tires, and blocking all finished letters before assembly to equalize any minor size differences.
Difficulty reading charts accurately is another challenge that many new crafters encounter, particularly when working complex letters like B, R, and S that have multiple curves and directional changes. A simple strategy is to use a sticky note or ruler to cover the rows of the chart above where you are currently working, revealing only the row you are on at any given moment. This prevents the eye from jumping ahead and losing track of your current position. Marking completed rows with a pencil or highlighter on a printed chart is another effective method for staying oriented as you work through a complex letter shape.
If your finished letters look distorted or are not reading clearly as the correct letterforms, the problem is often related to stitch count errors that accumulated over several rows without being caught. Developing the habit of counting your stitches at the end of every row is the most reliable preventive measure. If you do discover an error several rows back, it is almost always worth frogging — unraveling your work — back to the error and recrocheting the affected rows correctly rather than attempting to compensate in subsequent rows, as workarounds rarely produce satisfying results and can make the distortion worse.
- Start with a simple, bold sans-serif font style before attempting more decorative scripts, as clean geometric letterforms are much easier to interpret in crochet stitch grids.
- Practice individual letters you find challenging on their own before incorporating them into full words or phrases.
- Join online crochet communities and forums where you can share progress photos and receive feedback and encouragement from experienced crafters who have worked through the same challenges.
- Keep a project journal where you note what worked, what did not, and what you would do differently next time for each lettering project you complete.
- Celebrate small victories — completing your first clean, legible letter is a genuine accomplishment worth acknowledging before moving forward to the next one.
Above all, approach crochet alphabet patterns with patience and a spirit of playful experimentation. The learning curve is real but entirely manageable, and the skills you build through working letter after letter compound beautifully over time. The ability to write words and names in yarn is a genuinely magical craft skill that will enrich your creative practice, delight the recipients of your handmade gifts, and open doors to projects and possibilities you have not yet even imagined. Pick up your hook, choose a word that matters to you, and begin the wonderfully satisfying journey of bringing language to life in fiber.








What do you think?
It is nice to know your opinion. Leave a comment.