










How to Properly Position a Fence Gate Brace: Prevent Gate Sagging with the Right Miter Angle
Understanding Why Fence Gates Sag and How Bracing Solves the Problem
Gate sagging is probably the most common headache homeowners run into after putting in a wooden gate. Give it enough time, and gravity, moisture, and the weight of the gate itself will team up to drag that free-hanging corner down until you’ve got a gate that scrapes the ground and fights you every time you try to open it. If you understand why it happens, though, you’re already halfway to building one that’ll hold up for years.
The real problem is that a rectangular wooden gate hanging vertically on one side is just inherently unstable. With nothing holding it in shape, it slowly turns into a parallelogram — the unsupported corner creeps lower and lower over time. This gets even worse with heavier hardwood gates or ones with decorative panels adding extra weight. A gate that seems rock solid at installation can start sagging within a single season, especially somewhere with a lot of rain or freeze-thaw cycles working on the wood.
A properly installed diagonal brace is what fixes this. Running a compression or tension member from one corner of the gate to the opposite corner effectively turns your rectangle into a triangle — or more accurately, two triangles. Triangles are the strongest shape in structural engineering because they can’t change shape without actually changing the length of their sides. That’s exactly what a gate brace does: it locks the frame into a rigid shape that resists gravity day after day, year after year.
The Critical Difference Between Tension and Compression Bracing
Before you cut anything, you need to get clear on one thing: tension bracing and compression bracing require the diagonal to run in completely opposite directions. This is the single most common mistake people make when building gates, and if you get it wrong, your gate will sag no matter how nice your miter cuts are or how good your lumber is. The direction of that diagonal isn’t a style choice — it’s a structural one.
A compression brace uses a solid diagonal board — typically the same dimensional lumber as the rest of your gate frame — running from the bottom of the hinge side up to the top of the latch side. That orientation puts the brace in compression, meaning the gate’s weight is essentially squeezing it between those two corners. Wood handles compression really well, which is why this approach works so effectively. Think of it like a short column pushing back against the downward force and keeping that latch-side corner right where it belongs.
A tension brace works the other way around, using a wire or metal rod running from the top of the hinge side down to the bottom of the latch side. Instead of being squeezed, this member gets pulled taut as the gate tries to sag. Wire and threaded rod handle tension extremely well, so this approach is also structurally solid when it’s done right. Here’s the key thing to remember: a solid wood diagonal goes from the bottom hinge side to the top latch side, and a cable or rod goes from the top hinge side to the bottom latch side. Flip either of those, and your brace is actively working against you.

Calculating the Correct Miter Angle for Your Gate Brace
Once you know which direction your brace needs to run, you have to cut it so it fits snugly against the inside of your gate frame. A brace with gaps at the ends won’t transfer load properly, and that pretty much defeats the purpose. The angle you need depends entirely on your gate’s specific dimensions — height and width — so there’s no magic number that works for every gate. Measure first, always.
To get your miter angle, measure the interior width and interior height of your gate frame. Then it’s a simple trig calculation: the angle equals the arctangent of the height divided by the width, measured from horizontal. Say your gate is 48 inches wide and 60 inches tall — you’d take the arctangent of 60 divided by 48, which comes out to about 51.3 degrees from horizontal (or roughly 38.7 degrees from vertical). Most miter saws can be set to within a fraction of a degree, so hitting this kind of precision at home is totally doable.
If math isn’t your thing, there’s a more hands-on approach that works just as well. Cut your brace board a little longer than the diagonal distance across the frame interior, hold it in place inside the gate, and scribe the cut lines directly onto the wood using the frame members as your guide. It’s a great method for anyone who’d rather measure twice and cut once without pulling out a calculator. Just make sure your gate frame is actually square before you do this — check by measuring both diagonals, and they should match exactly. If they don’t, sort that out first or your scribed angles will be off.
Step-by-Step Installation of a Wood Compression Brace
With your angles sorted and your lumber picked out, you’re ready to actually put the brace in. Start by assembling the gate frame flat on a level surface — a garage floor works great, or a couple of sawhorses with a sheet of plywood laid across them. Flat and level really matters here, because any twist you introduce during assembly gets permanently locked in once you drive the fasteners. Setting up your workspace properly upfront saves you a lot of trouble later.
Cut the brace to length at your calculated miter angle, with both ends cut to the same angle so the brace runs true from end to end. For a compression brace, both cut faces end up parallel — the board essentially becomes a parallelogram shape when you look at it from the end. Before you glue or fasten anything, test-fit the brace inside the assembled frame. It should sit firmly against both corner joints with no rocking and no visible gaps along its length. If it rocks, one or both miter cuts needs a little fine-tuning. If there are small gaps at the corners, the brace is slightly short — but you can often get away with a generous application of exterior-grade construction adhesive before fastening.
For fastening, use structural screws or carriage bolts — not standard wood screws driven into end grain, which is the weakest possible connection and really only appropriate for very light gates. Instead, go with 3/8-inch carriage bolts with washers and nuts through-bolted at each end, or drive 3-inch structural screws at an angle through the brace face into the frame members (this is called toe-screwing). Pre-drill everything to keep the wood from splitting, and consider running a bead of exterior polyurethane glue at both contact points before bolting for extra rigidity and moisture resistance at the joints.
- Use exterior-rated hardware — galvanized, stainless steel, or hot-dipped zinc-coated fasteners resist rust in outdoor environments.
- Pre-drill pilot holes at least 1/8 inch smaller in diameter than your fastener to prevent wood splitting at the cut ends.
- Apply exterior wood glue or polyurethane construction adhesive at all brace-to-frame contact points before fastening.
- Allow glue to fully cure before hanging the gate — typically 24 hours for polyurethane adhesives in moderate temperatures.
- Check that the assembled gate remains perfectly square after fastening by re-measuring both diagonals before the glue sets.
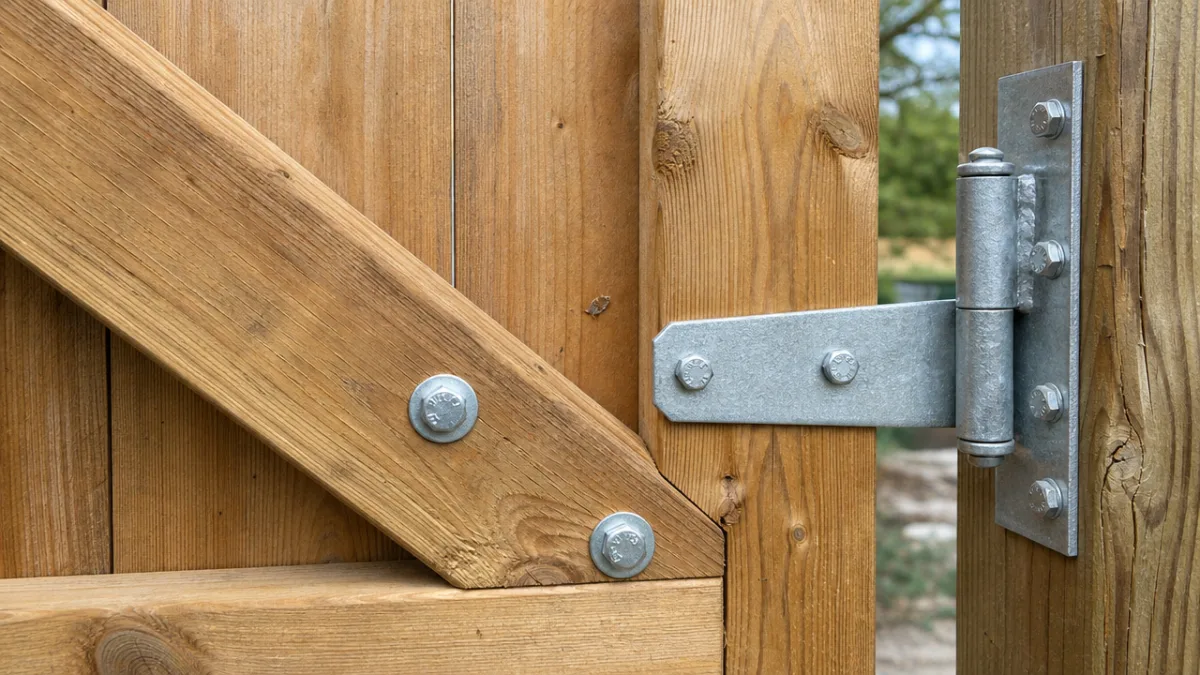
Choosing the Right Lumber for a Long-Lasting Gate Brace
Your brace is only as good as the wood it’s made from. A lot of DIYers grab whatever scrap lumber is handy rather than thinking about what the material actually needs to handle — repeated stress cycles every time the gate swings, constant rain and sun exposure, and serious seasonal movement as the wood swells and shrinks with humidity changes throughout the year. Not every species or grade is up to that job.
Pressure-treated lumber rated for ground contact — look for the UC4A or UC4B stamp — is the most practical and budget-friendly choice for most residential gate braces. Modern pressure-treated wood uses alkaline copper quaternary or copper azole preservatives instead of the old chromated copper arsenate formula, so it’s much safer to handle and cut. It resists rot, fungal decay, and insects far better than untreated lumber, and when you pair it with compatible galvanized or stainless hardware, a pressure-treated gate frame and brace can realistically last fifteen to twenty-five years or more without a lot of fuss.
If you’d rather work with natural wood that looks better from the start, several species hold up really well outdoors on their own. Western red cedar, redwood, black locust, and teak all have natural oils and tannins that fight off moisture and decay. Black locust is probably the toughest of the bunch — it’s in the same durability league as tropical hardwoods — while western red cedar hits a nice sweet spot of workability, looks, availability, and reasonable cost. Whichever wood you go with, seal all cut end grain right away with an exterior wood sealer. End grain soaks up moisture much faster than face grain, and that’s where most of the long-term splitting and checking starts.
Hanging the Gate Correctly to Complement Your Brace Work
Even a beautifully built gate with a perfect brace can sag early if you hang it with the wrong hardware or cut corners on installation. The hinges are the link between your gate and the post, and they have to be strong enough to handle the gate’s weight and positioned well enough to spread that load properly. Honestly, most residential gates fail at the hinge connection long before the brace ever becomes an issue — so hardware selection and how you install it matter just as much as the brace itself.
Pick heavy-duty strap hinges or T-hinges that are actually rated for your gate’s weight. A rough rule of thumb: two hinges handle gates up to about 50 pounds just fine, but anything heavier should have three. Position the top hinge about six to eight inches down from the top rail, the bottom hinge six to eight inches up from the bottom rail, and add a third center hinge for heavy gates. Every hinge needs to be fastened with lag screws at least 3/8 inch in diameter, penetrating a minimum of 2.5 inches into solid post material — not just the outer face of the post, but into the actual structural core.
And don’t overlook the post itself. A leaning, sagging, or rotting post will undermine everything else you’ve done. Set your hinge post in concrete to at least one-third of its total length, with the bottom of the footing below the local frost line so it doesn’t heave in winter. Use a post level to get it perfectly plumb in both directions before the concrete hardens, and brace it temporarily with stakes and diagonal boards while it cures. When you’ve got a well-set post, a properly built gate frame, a correctly oriented brace, and quality hardware all working together, you end up with a gate that swings smoothly and stays true for years of daily use.
- Set hinge post in concrete below the frost line and verify plumb in both directions before concrete cures.
- Select hinges rated for your gate’s actual weight, using three hinges for heavy gates over 50 pounds.
- Fasten hinges with 3/8-inch lag screws penetrating at least 2.5 inches into solid post material.
- Hang the gate and check swing clearance across the full arc of travel before installing the latch hardware.
- Adjust hinge position if needed by shimming behind the hinge leaf to correct minor out-of-plumb conditions.
- Install a gate latch at a comfortable height and verify it engages positively without forcing the gate out of square.
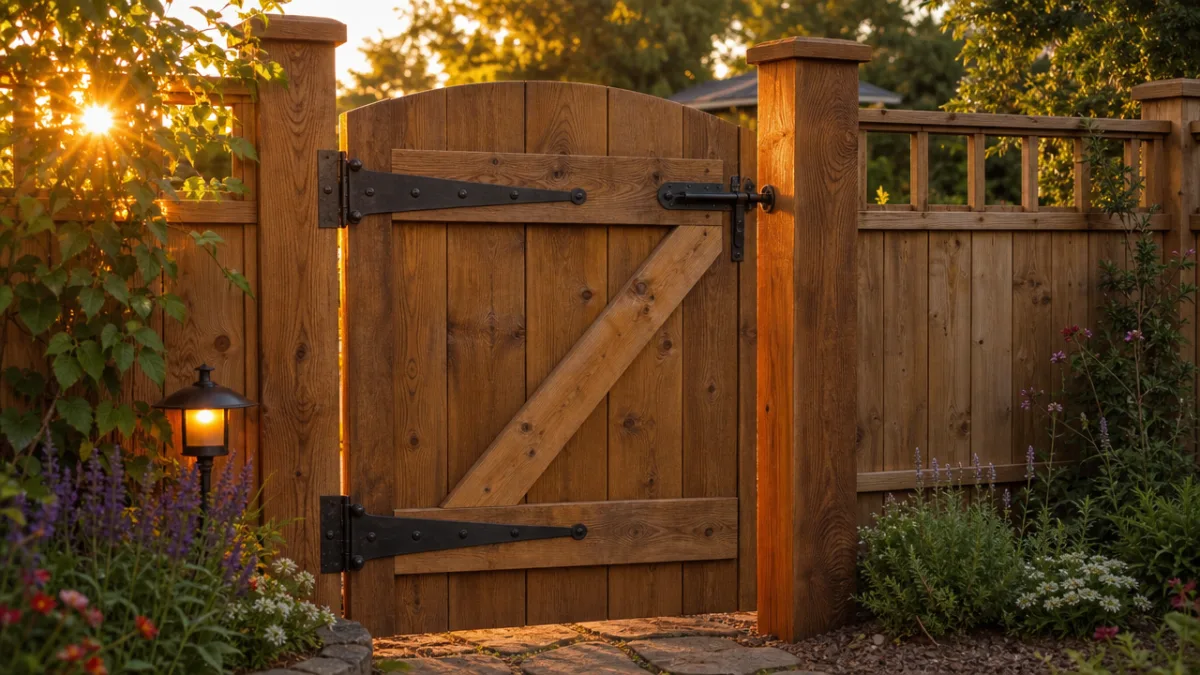
Maintenance Tips to Keep Your Gate Brace Working for Decades
Building the gate right is only half of it. The other half is actually keeping up with it over the years so all that effort continues to pay off. Wood is a living material — it responds to its environment constantly — and a gate that gets ignored for a few years can develop problems that good structural design alone can’t save it from. A simple annual routine makes a huge difference and keeps you from ever facing a full replacement.
Give your gate a thorough once-over at least once a year, ideally in early spring after winter has done its worst. Look for checking or splitting at the brace ends, any movement or loosening where the fasteners are, rust or corrosion starting to form on the hardware, and any green or grey discoloration that signals mold or mildew taking hold. Tighten anything that’s worked loose, swap out corroded hardware before it actually fails, and hit any surface discoloration with an exterior wood cleaner before it has a chance to work deeper into the wood.
Every two to three years — or more often if your climate is harsh or your gate gets a lot of direct sun — reapply a penetrating exterior finish, stain, or sealer. Products that soak into the wood rather than sitting on top of it tend to hold up much better on gates because they move with the wood instead of cracking and peeling as it expands and contracts. Give extra attention to end grain — the top of the gate frame, the exposed ends of the brace, and any horizontal surfaces that pool water — since those spots are most vulnerable to moisture getting in. Stay on top of the small stuff and a well-braced gate built from solid materials can easily last twenty years or more without any major drama.








What do you think?
It is nice to know your opinion. Leave a comment.