










DIY Home Decor on a Budget: Transform Your Space Without Breaking the Bank
Why DIY Home Decor Is the Smartest Choice for Your Home
There has never been a better time to embrace do-it-yourself home decor. With the rise of online inspiration platforms, accessible craft supplies, and a growing community of creative homeowners, transforming your living space on a tight budget has become not only possible but genuinely enjoyable. The satisfaction of looking at a room and knowing that you built, painted, or assembled every element with your own hands is a feeling that no store-bought item can replicate.
Beyond the emotional reward, DIY home decor makes extraordinary financial sense. Professional interior designers can charge hundreds or even thousands of dollars for consultations alone, and high-end furniture stores often mark up their products by enormous margins. When you source your own materials, repurpose what you already own, and invest your time instead of your savings, you can achieve a look that rivals anything found in a design magazine for a fraction of the cost. Many homeowners report saving between 50 and 80 percent compared to purchasing equivalent ready-made decor.
DIY projects also give you complete creative control over your environment. You are not limited by what happens to be in stock at your local furniture store or restricted to the color palettes that manufacturers choose to produce each season. Every decision, from the exact shade of paint on a reclaimed wood shelf to the precise spacing of gallery wall frames, reflects your personal taste and your household’s unique personality. This level of customization is genuinely priceless, and it ensures that your home will never look like anyone else’s.
Planning Your Budget DIY Decor Projects
Before you pick up a paintbrush or head to the hardware store, spending a little time planning your approach will save you significant money and frustration down the road. Start by walking through each room in your home with fresh eyes, as if you were seeing it for the first time. Take photos from multiple angles and make a simple list of what bothers you most and what you most want to change. Prioritizing your wish list helps you allocate a modest budget where it will have the greatest visual impact.
Setting a realistic budget for each project is essential, but it does not mean you need to spend very much at all. Many of the most impactful DIY decor projects cost under twenty dollars, and some cost virtually nothing if you already have the right supplies at home. Create a simple spreadsheet or notebook page for each project, listing the materials you need, where you plan to source them, and your estimated cost. Always add a small contingency amount for mistakes, because even experienced crafters occasionally need to buy a second can of spray paint.
Research is one of the most valuable investments you can make before starting any project. Watch several tutorial videos, read through project write-ups from people who have already completed what you want to make, and join online communities where members share their results and hard-won advice. Understanding the full process before you begin means you will not be caught off guard halfway through a project, and you will know in advance which steps require the most patience, the right tools, or particular skill. Good planning is what separates a finished, polished result from an abandoned half-project gathering dust.
- Walk each room and photograph problem areas before planning any purchases
- List projects by priority and potential visual impact on the space
- Research materials online and compare prices across multiple suppliers
- Check thrift stores, garage sales, and online marketplaces before buying new
- Build a small contingency fund of 10 to 15 percent into every project budget
Easy and Affordable DIY Wall Decor Ideas
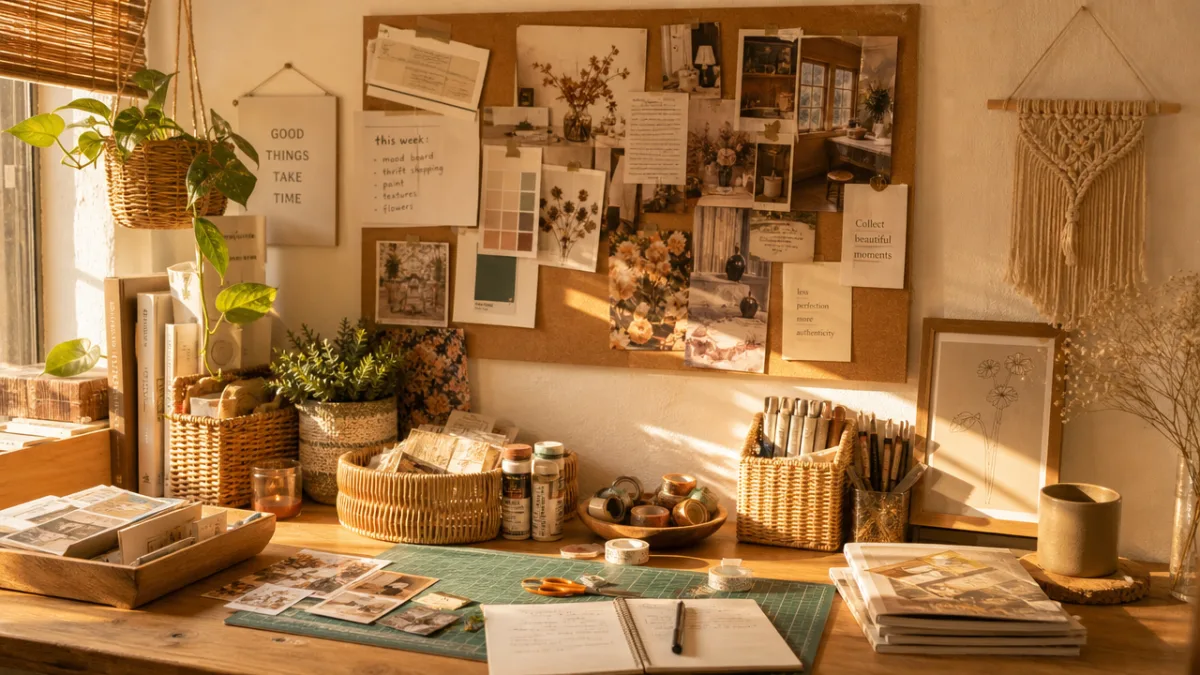
Your walls represent the single largest visual canvas in any room, and updating them is often the fastest way to transform how a space feels. One of the most popular and cost-effective approaches is creating a gallery wall from a mix of thrifted frames, personal photographs, printable artwork downloaded for free or a few dollars online, and even pages torn from beautiful books or magazines. The key to making a gallery wall look intentional rather than chaotic is choosing a unifying element, whether that is a consistent frame color, a repeated mat style, or a cohesive color story across all the pieces.
Painting is arguably the highest-impact, lowest-cost DIY you can undertake. A single gallon of interior paint costs between twenty and forty dollars and can completely reinvent a room. Bold accent walls have fallen in and out of fashion, but right now the trend leans toward painting all four walls in a single moody, saturated hue, or taking paint all the way onto the ceiling for a cocooning, enveloping effect. Even more creative options include geometric painted patterns, color-blocked sections, or simple hand-painted murals that require no artistic training, only a ruler, painter’s tape, and a steady hand.
Textile wall hangings offer another dimension of texture and warmth that painted walls and framed prints simply cannot provide. Macrame wall hangings, which were enormously popular in the 1970s and have made a strong contemporary comeback, can be made at home using inexpensive cotton cord available at most craft stores. Alternatively, you can stretch a beautiful piece of fabric over a simple wooden frame to create a large-format fiber art piece for under fifteen dollars. Woven baskets arranged in clusters on a wall, a trend that originated in Moroccan and West African design traditions, add organic texture and can be sourced cheaply at import stores or thrift shops.
Furniture Makeovers and Upcycling Techniques
One of the most transformative skills a budget-conscious decorator can develop is the ability to see the potential in old, worn, or outdated furniture rather than assuming it needs to be replaced. A solid wood dresser with ugly 1990s oak staining can be stripped, sanded, and painted in an afternoon to become a sophisticated, contemporary storage piece. A wobbly chair with torn upholstery can be stabilized with wood glue, reupholstered with a yard of fabric and a staple gun, and turned into a genuine statement piece. Learning to see furniture as a platform for reinvention rather than a finished object changes everything about how you shop and decorate.
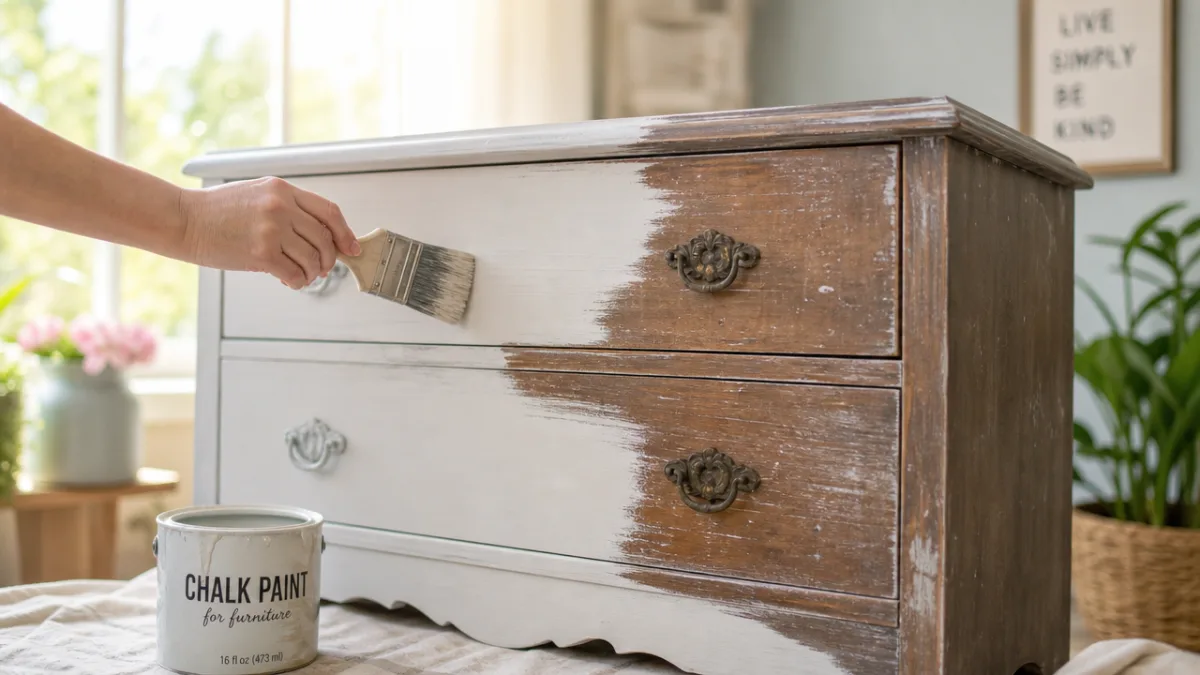
Chalk paint has revolutionized the furniture upcycling world because it adheres to almost any surface without priming or extensive sanding, dries quickly, and produces a beautiful matte finish that can be waxed for durability. A single quart can typically cover one large piece of furniture and costs around twenty to thirty dollars, making it far more economical than purchasing a new piece. Popular techniques include distressing the dried paint with fine-grit sandpaper to expose the wood grain beneath for a charming vintage effect, or applying two contrasting colors and sanding back the top layer to create depth and visual interest.
Hardware swaps are among the most underappreciated quick fixes in the DIY decorator’s toolkit. Simply replacing the pulls and knobs on a kitchen cabinet, bathroom vanity, or bedroom dresser can make a piece look as though it has been completely replaced. Brass hardware is particularly popular right now, lending warmth and a slightly retro-luxe feel to otherwise plain furniture. A full set of drawer pulls for a six-drawer dresser might cost between fifteen and forty dollars depending on the style, which is an almost absurdly small investment relative to the visual transformation it delivers. Combine new hardware with a fresh coat of paint and you have essentially a brand-new piece of furniture.
- Assess each piece of furniture honestly before deciding whether to refinish or replace
- Sand and clean surfaces thoroughly before applying any paint or stain
- Choose chalk paint for ease of application on most furniture surfaces
- Experiment with distressing techniques to add character and depth
- Finish painted furniture with wax or polycrylic for long-lasting protection
- Replace hardware last, after all painting is completely dry
Budget-Friendly DIY Decor for Every Room in Your Home
Every room in your home presents different challenges and opportunities when it comes to budget decorating. In the living room, where you likely spend the most time and where guests form their first impressions, focus on items that have the largest visual footprint. Throw pillows in coordinating colors and textures can be made from fabric remnants, and new covers for existing pillows are far more economical than buying entire new cushions. A simple DIY coffee table tray made from a shallow wooden box, painted and lined with decorative paper or fabric, instantly elevates the look of a basic table and creates organized display space for candles, books, and small plants.
In the bedroom, the bedding and headboard set the tone for the entire space. An upholstered headboard sounds intimidating but is actually one of the most accessible furniture DIY projects, requiring only a sheet of plywood cut to your desired shape, a layer of batting, fabric of your choice, and a staple gun. The materials for a queen-sized upholstered headboard typically cost between forty and eighty dollars, compared to hundreds or thousands at a furniture retailer. Pair a new headboard with freshly laundered white bedding and a few new throw pillows to completely transform how the room feels without touching the walls or floor.
Kitchens and bathrooms present unique decor opportunities even when renovation is not an option. Open shelving styled with a curated mix of everyday items and decorative objects, a trend sometimes called functional shelfies, makes a kitchen feel personalized and intentional without any construction. In bathrooms, decanting soap and shampoo into attractive glass or ceramic bottles, replacing a standard mirror with a thrifted ornate frame mirror, and adding a small plant or two can turn a builder-grade bathroom into a spa-like retreat for under thirty dollars total. These small, considered changes accumulate into a cohesive and elevated aesthetic throughout the entire home.
Sourcing Materials and Finding Inspiration on a Shoestring
Knowing where to look for materials is just as important as knowing what to make. Thrift stores, estate sales, and charity shops are absolute goldmines for the budget-conscious DIY decorator. You will regularly find solid wood furniture, interesting mirrors, ceramic vases, vintage art prints, and unusual decorative objects for a tiny fraction of their retail value. The key is to visit frequently, to look past a piece’s current condition and envision what it could become with a little intervention, and to be patient because the perfect find rarely appears on your first visit.
Online marketplaces have added enormous depth to the secondhand sourcing ecosystem. Local buy-nothing groups and community swap events have also grown significantly in recent years, offering a way to acquire furniture and decor objects completely free of charge by connecting with neighbors who are clearing out items they no longer need. Hardware stores, dollar stores, and discount import shops are undervalued sources for inexpensive raw materials like rope, wooden dowels, glass jars, and basic lighting components that can be assembled into genuinely stylish decor with a little creativity and the right tutorials.
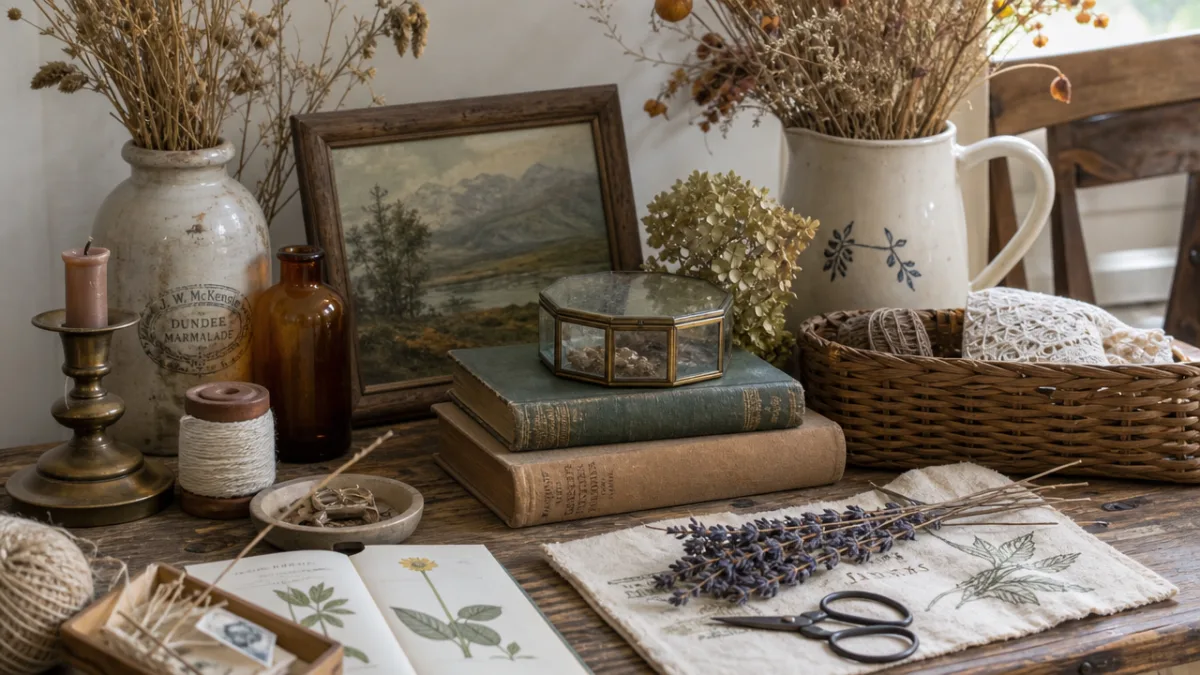
Inspiration is all around you, and the best part is that most of it is completely free. Social media platforms offer an essentially infinite scroll of decor ideas organized into easily searchable categories, and design blogs provide detailed tutorials for nearly every DIY project imaginable. Nature itself is one of the most generous sources of free decor material. Branches collected on walks can be spray-painted and arranged in tall vases. Pinecones, dried seed heads, smooth river stones, and pressed leaves can all become beautiful seasonal decorations. Learning to look at natural and discarded objects as raw materials rather than waste is a mindset shift that will serve your home, your budget, and the environment for years to come.
- Visit thrift stores and estate sales regularly and with an open mind
- Search online marketplaces for local furniture and decor deals before buying new
- Join local buy-nothing or community swap groups for completely free finds
- Explore dollar stores and discount importers for inexpensive raw materials
- Collect natural materials such as branches, stones, and dried botanicals for free decor
- Follow design blogs and video tutorials to learn new techniques before starting projects
Making Your DIY Decor Last: Care, Quality, and Finishing Touches
One of the most common criticisms of budget DIY decor is that it looks homemade in the worst sense of that word, meaning unpolished, fragile, or obviously inexpensive. The difference between a DIY project that looks genuinely professional and one that looks amateurish almost always comes down to the finishing steps. Taking the time to sand between coats of paint, apply proper sealants, use a level when hanging anything on walls, and clean up edges with a small detail brush are the habits that separate truly impressive DIY work from the kind that disappoints. Patience in the final ten percent of any project pays outsized dividends.
Protecting your finished pieces appropriately will extend their life significantly and keep your home looking its best for years rather than months. Painted furniture benefits enormously from a topcoat of polycrylic or furniture wax, which prevents chipping and makes surfaces wipeable. Fabric pieces like upholstered items and textile wall hangings can be treated with a fabric protector spray. Natural materials like wood, jute, and rattan should be kept away from excessive moisture and direct sunlight, both of which cause premature deterioration. Understanding the properties of the materials you work with means your creations will stay beautiful far longer with minimal ongoing maintenance.
Finally, remember that great decor is not static. One of the joys of DIY is the freedom to change things whenever you feel ready for something new. A painted piece of furniture can always be repainted. A gallery wall can be rearranged or supplemented with new finds. Seasonal decor can be swapped in and out to keep your home feeling fresh and responsive to the time of year. Approaching your home as a living, evolving expression of who you are, rather than a fixed project to be completed and sealed, takes the pressure off any individual decision and makes the entire process of creating a beautiful space more playful, more personal, and far more enjoyable. Your home is always a work in progress, and with a DIY mindset, that is something to celebrate rather than stress about.








What do you think?
It is nice to know your opinion. Leave a comment.