










$5 DIY Photoshoot Ideas: How to Create Stunning Photos on a Shoestring Budget
Why DIY Photoshoots Are More Popular Than Ever
If you’ve ever priced out a professional photography session, you already know the sticker shock is real. We’re talking hundreds — sometimes thousands — of dollars for a single shoot. For most people, small business owners, and creative hobbyists, that’s just not in the cards. And yet the pressure to show up online with beautiful, polished photos has never been higher. That tension between what we need and what we can actually afford has pushed a lot of people to get creative, and honestly? The results have been incredible.
Scroll through Pinterest, Instagram, or TikTok for five minutes and you’ll see exactly what I mean. People are turning wrinkled aluminum foil and dollar store poster board into backdrops that look like they came out of an actual studio. What used to feel like a world reserved for trained photographers with expensive gear is now wide open to anyone with a smartphone and a willingness to try things. The cameras in our pockets have gotten genuinely remarkable, and that’s changed everything.
Here’s the thing nobody tells you upfront: some of the most striking photos you’ll ever see came from tight budgets and zero fancy equipment. When you can’t throw money at a problem, you start paying closer attention to light, color, composition, and storytelling — and that’s where the real magic happens. Plenty of professional photographers will tell you that constraints are what made them better. With five dollars and a trip to the dollar store, you can prove that to yourself.
Gathering Your $5 Supply Kit
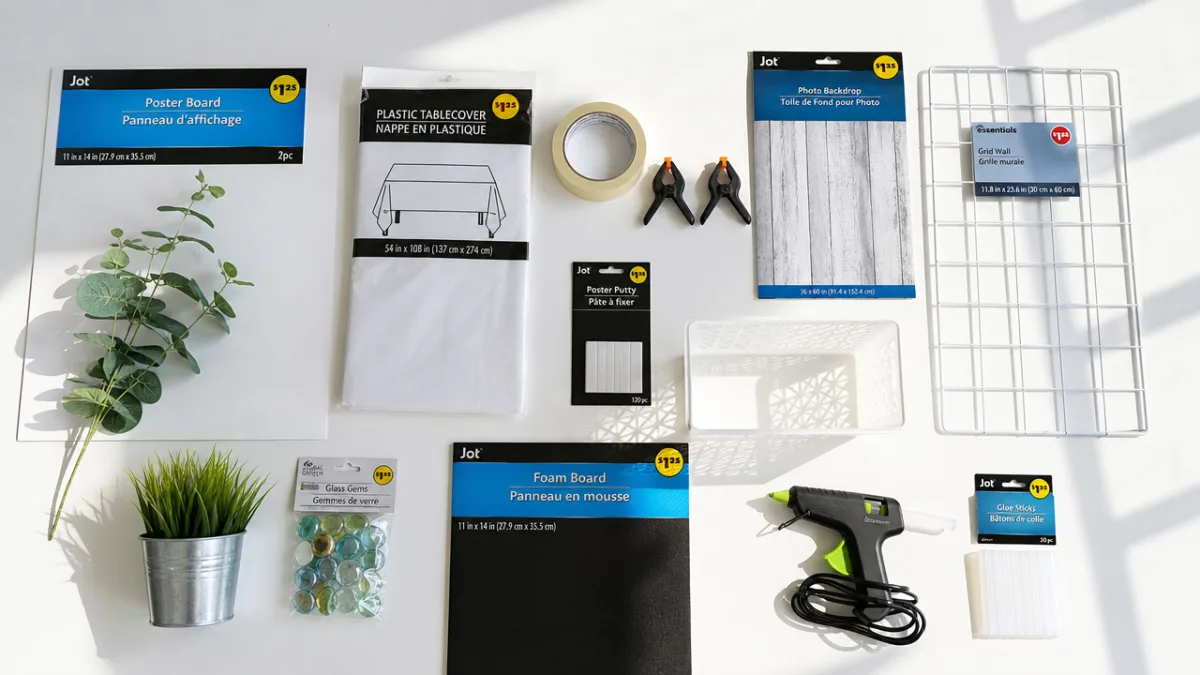
The trick to a successful budget photoshoot starts before you ever pick up your camera — it starts at the store. A single trip to a dollar store, a craft store clearance bin, or a thrift shop can set you up with everything you need. The secret is knowing what to look for and thinking ahead about how each item could pull double or triple duty during your shoot. When you’re working with five dollars, you want materials that are flexible, reusable, and versatile enough to work across multiple setups.
Poster board is a great place to start — white, black, or soft pastels all make instant, clean backdrops for small products or portrait close-ups, and they cost next to nothing. Aluminum foil is one of those materials that sounds too simple to be useful until you actually try it. Crumple it up for a cool textured background, lay it flat to bounce light, or shape it into something geometric behind your subject. Tissue paper is another underrated find — layer a few sheets over a window and you’ve got a DIY color gel that fills your whole room with beautiful, tinted light.
A few other things worth grabbing: wax paper (tape it over a window and it becomes a surprisingly effective light diffuser), small mirrors from the cosmetics section (great for adding reflections and depth to a shot), fairy lights or string lights if you spot them on clearance, and colored cellophane wrap. A single pack of construction paper gives you an entire rainbow of solid color backgrounds to work with. When you put all of these together and shop smart, you can easily come in under five dollars — and have enough supplies to pull off dozens of different setups.
- Poster board: Ideal for seamless product backdrops and portrait backgrounds in crisp, solid colors.
- Aluminum foil: Works as a reflective surface, light bouncer, or crinkled textural backdrop.
- Tissue paper: Layers over windows to create soft, colored ambient light reminiscent of a professional gel filter.
- Wax paper: Diffuses direct light sources to eliminate harsh shadows and create an even, soft glow.
- Fairy lights: Add bokeh backgrounds, warm ambiance, or whimsical product styling at almost no cost.
- Small mirrors: Create reflections, visual depth, and interesting compositional elements with ease.
- Construction paper: Provides an entire spectrum of bold, clean background colors for any aesthetic.
Setting Up Your DIY Studio Space
You do not need a big room, a spare bedroom, or anything close to a dedicated studio to pull this off. Some of the most impressive DIY setups I’ve seen were built in a corner of a bedroom, on a stretch of kitchen counter, or on a patch of living room floor next to a window. The size of your space matters a lot less than you’d think. What actually matters is where the light falls — that’s the detail worth spending your energy on.
If you have a north-facing window, you’re sitting on a goldmine. Painters have known this for centuries, and photographers love it for the same reason: the light is consistent, indirect, and doesn’t shift much throughout the day. It won’t cast harsh shadows or blow out one side of your subject. If a north-facing window isn’t available, any window where direct sunlight isn’t hitting your shot directly will work. And if the light is still too harsh? That wax paper trick earns its keep here — tape a sheet or two across the window and suddenly you have a makeshift softbox that turns even aggressive midday sun into something gentle and flattering.
Once you’ve figured out your light source, set up your background. Curve a sheet of poster board up against the wall, pin a piece of fabric to a curtain rod, or tape construction paper flat on a table — whatever fits your setup. The goal is a smooth, seamless transition between the background and the surface your subject sits on, so there’s no visible corner or line breaking up the look. Before you start shooting, take a few minutes to adjust and readjust the positioning. It sounds tedious, but honestly small tweaks at this stage make a bigger difference in the final photos than almost anything else you’ll do.
Lighting Hacks That Cost Almost Nothing
Every photographer, at every level, will tell you the same thing: lighting is everything. The good news is that the most powerful light source on the planet is completely free. Learning to work with natural light — how to find it, shape it, and position your subject within it — is a skill that professionals spend years developing, but the fundamentals are simple enough to start using on your very first shoot. Once you understand the difference between soft, diffused light and harsh, direct light, you’ll start seeing it everywhere and instinctively knowing how to use it.
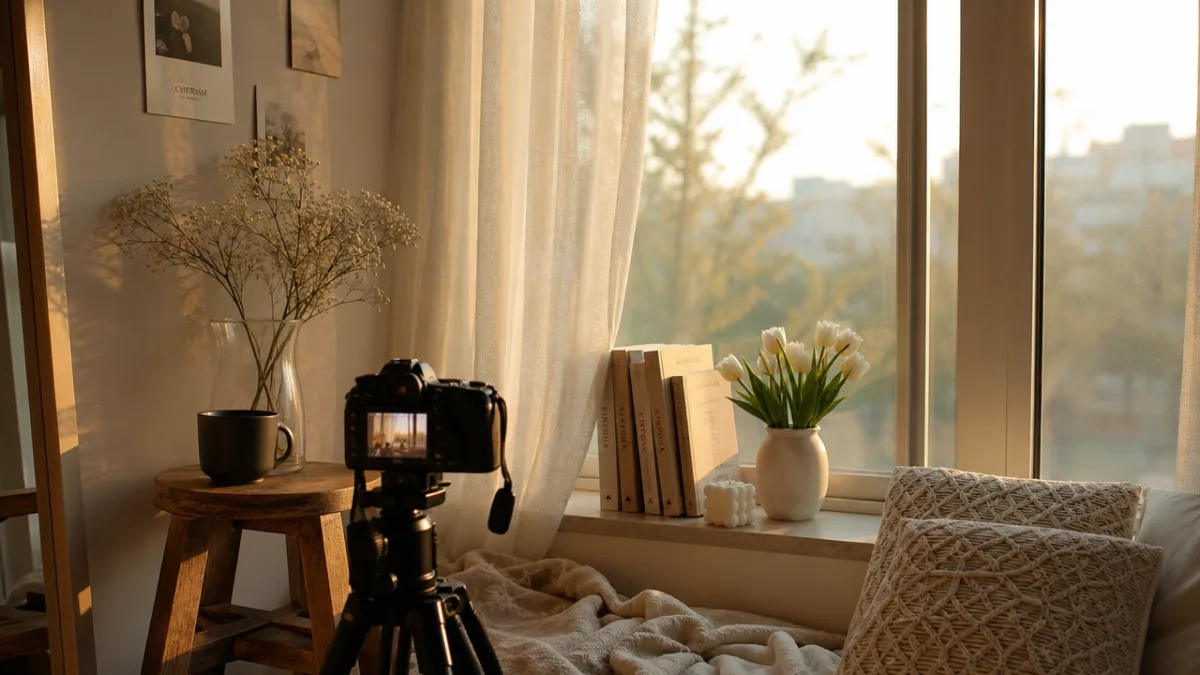
Golden hour is worth going out of your way for. That first hour after sunrise and the last hour before sunset produce this warm, low-angle light that makes everything look effortlessly cinematic. If you’re shooting indoors near a window during those times, you’ll notice the whole room takes on a beautiful amber glow that no filter can quite replicate. On the flip side, if you’re doing flat lays or product shots, an overcast day is actually ideal. The clouds do all the diffusing work for you, spreading even, shadow-free light across your whole setup — it’s like having a giant softbox overhead for free.
For indoor shoots when the natural light just isn’t cutting it, two ordinary household lamps can get you further than you’d expect. Set one up as your main light source, angled to one side of your subject. Then prop your aluminum foil reflector on the opposite side to bounce some of that light back in and soften the shadows. If the color of your lamps feels too warm or too cool, wrap a loose sheet of white paper around the shade to nudge it toward neutral. This is basically the same three-point lighting setup used in professional studios — the only difference is the price tag.
- Identify your best natural light source — find the window in your space that receives the softest, most even illumination throughout the day.
- Use wax paper as a diffuser — tape it across your window to eliminate harsh direct sunlight and create a soft box effect.
- Create a foil reflector — tape aluminum foil to a piece of cardboard, shiny side out, to bounce light back into shadow areas.
- Shoot during golden hour — the warm, low-angle light in the hour after sunrise or before sunset transforms any setup effortlessly.
- Embrace overcast skies — cloudy days provide even, diffused light that is perfect for flat lay photography and product shots.
Creative Background and Prop Ideas for Every Aesthetic
Your background sets the entire mood of a photo before the viewer’s eye even reaches the subject. And with five dollars to work with, you have way more options than you might think. A single sheet of white or black poster board gives you that clean, minimal look. Kraft paper or a brown paper bag laid flat brings in a warm, rustic feel. Hang some fairy lights behind a sheer white fabric and suddenly the whole thing looks dreamy and romantic. The aesthetic possibilities are genuinely wide-ranging once you start thinking creatively about what you already have access to.
Texture is something a lot of beginners overlook, and it’s often free. A dish towel with an interesting weave makes a great background for small products. A brick wall, a wooden fence, painted concrete — these surfaces that we walk past every single day have texture and character that no purchased backdrop can match. Even a stack of books, a pile of vintage magazines, or a scattering of dried leaves can become a compelling background for the right subject. Some of the most visually interesting photos I’ve seen were built entirely around found materials.
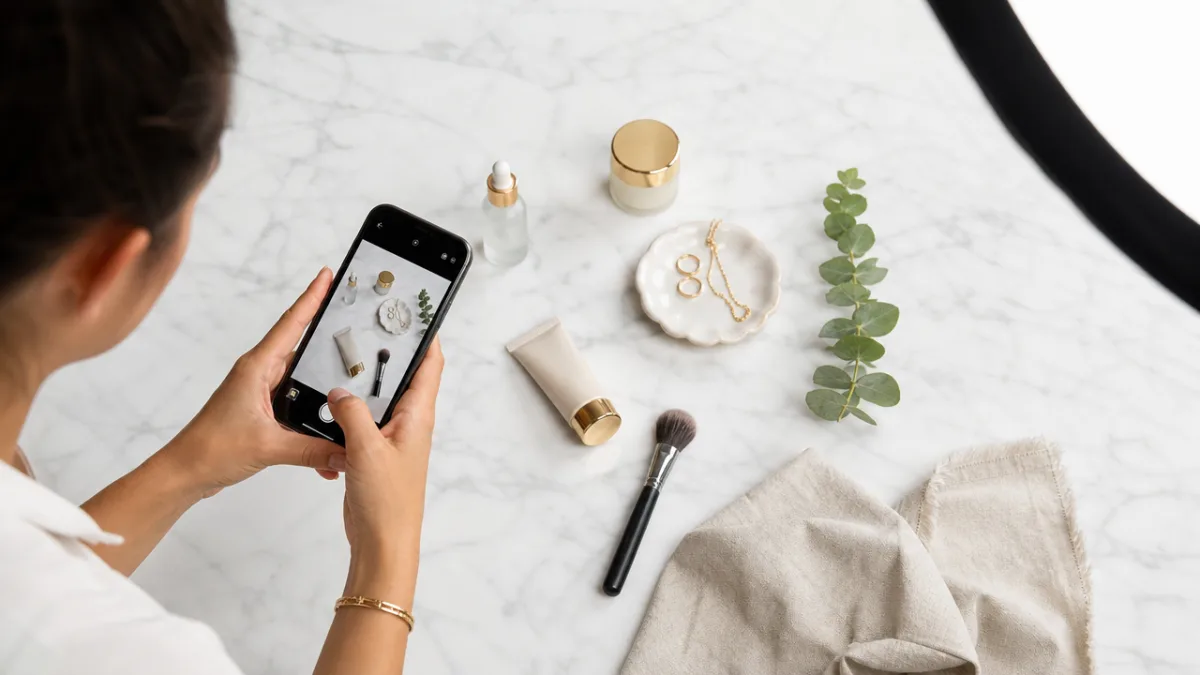
Props deserve the same intentional thought you give to your background, because they’re what turn a product photo into a story. The most effective props feel natural and connected to whatever you’re shooting — a warm mug beside a book, a fresh sprig of garden greenery next to a skincare product, dried florals scattered around a candle. These little details invite the viewer into a world. They make the image feel lived-in and real rather than staged. Best of all, this kind of lifestyle styling costs nothing because you’re literally just using what’s already around you.
Mastering Composition With a Smartphone Camera
Modern smartphone cameras are genuinely impressive — the gap between phone cameras and professional DSLRs keeps shrinking, and for a lot of shooting scenarios, a recent phone is more than enough. But here’s the thing: no camera, no matter how advanced, can make compositional decisions for you. How you arrange and frame the elements in your shot is entirely up to you, and learning even the basics of composition will do more for your photos than any equipment upgrade ever could.
The rule of thirds is where almost every photography class starts, and for good reason — it works. Most smartphone cameras have a grid overlay you can turn on in the settings that divides your frame into nine equal sections. Instead of putting your subject dead center, try placing it along one of the grid lines, or right at one of the four intersection points (sometimes called “power points”). It’s a surprisingly small adjustment, but it creates a sense of natural balance that feels much more dynamic and interesting to look at than a centered shot. Turn the grid on and leave it on — after a few sessions it’ll feel completely automatic.
Once you’ve got the rule of thirds down, start playing with angles. Shoot straight overhead for a flat lay where you control every single element in the frame. Drop down to surface level for dramatic, almost cinematic product shots that make small objects feel imposing. Try shooting through something in the foreground — a gap in some leaves, a doorway, a circle you cut out of construction paper — to create layers of depth that pull the viewer’s eye in. These techniques cost absolutely nothing, and any one of them can turn a forgettable snapshot into something that makes people actually stop scrolling.
- Enable the rule-of-thirds grid in your phone camera settings and use the intersection points to place your subject.
- Experiment with flat lay by shooting directly overhead, giving you complete compositional control over every element in frame.
- Try low-angle shots to make your subject feel larger and more dramatic against its background.
- Frame within a frame by shooting through doorways, windows, or hand-held shapes cut from paper or cardboard.
- Vary your distance — take wide shots, medium shots, and tight detail shots of every setup to maximize your options during editing.
- Use negative space intentionally, allowing large areas of clean background to draw focus to your subject.
Editing Your Photos for a Professional Finish
A few minutes of editing can take a solid photo and make it look genuinely polished — and you don’t need to spend much (or anything) to do it well. Apps like Lightroom Mobile, Snapseed, and VSCO offer editing tools that rival professional desktop software, all on the same phone you shot with. The thing that separates editing that looks professional from editing that looks overdone is restraint. Small, intentional adjustments that bring out what’s already in the image will always beat heavy-handed filters that mask it.
The four adjustments that make the biggest difference in almost any photo are exposure, contrast, white balance, and clarity. Start with exposure — aim for highlights that are bright but not blown out, and shadows that have depth without going completely black. Then check your white balance to make sure your whites actually look white and any skin tones look natural. A slight bump in contrast adds dimension, and a subtle clarity or texture boost sharpens up details in a way that makes the whole image feel more intentional. Just those four tweaks, applied with a light hand, can transform a decent smartphone photo into something that looks deliberately crafted.
If you want your photos to look cohesive across a whole feed or portfolio, the real secret is developing a consistent editing style. Once you find a set of adjustments that captures the mood and look you’re going for, save it as a preset in Lightroom Mobile or a template in Snapseed. From that point on, applying your signature look to a new photo takes seconds. It’s the difference between a random collection of snapshots and a body of work that feels unified and intentional — and it’s exactly what separates people who take photos from people who have a genuine creative practice.








What do you think?
It is nice to know your opinion. Leave a comment.