










Butterfly Gnome Pattern: Create an Adorable DIY Spring Gnome in a Wheelbarrow
Introduction to the Butterfly Gnome Craft Project
Spring is the perfect season to bring whimsical charm into your home and garden, and nothing captures that magical feeling quite like a handcrafted gnome with butterfly wings nestled inside a tiny wheelbarrow. This delightful DIY project combines the beloved Scandinavian gnome tradition with the delicate beauty of spring butterflies, creating a decorative piece that feels both timeless and seasonally fresh. Whether you are an experienced crafter or someone just beginning to explore the world of fabric arts, this project offers a satisfying blend of simplicity and creative expression.
The butterfly gnome design has become increasingly popular among craft enthusiasts for good reason. The combination of soft fabrics, colorful butterfly wings, and the rustic charm of a miniature wheelbarrow creates a centerpiece that works equally well on a porch, a mantle, or nestled among potted plants in a garden. The visual contrast between the gnome’s earthy tones and the bright, airy colors of the butterfly elements makes this piece eye-catching from any angle, drawing smiles and compliments from anyone who encounters it.
What makes this pattern especially appealing is its versatility. You can customize the butterfly colors to match your existing décor, choose fabric textures that complement the season, and even adjust the size of the gnome to fit different wheelbarrow dimensions. Some crafters create an entire family of butterfly gnomes in varying sizes, arranging them together for a truly enchanting springtime display. The project can be completed in an afternoon with basic sewing skills, making it accessible to a wide range of skill levels while still offering room for personalization and artistic flair.
Materials You Will Need
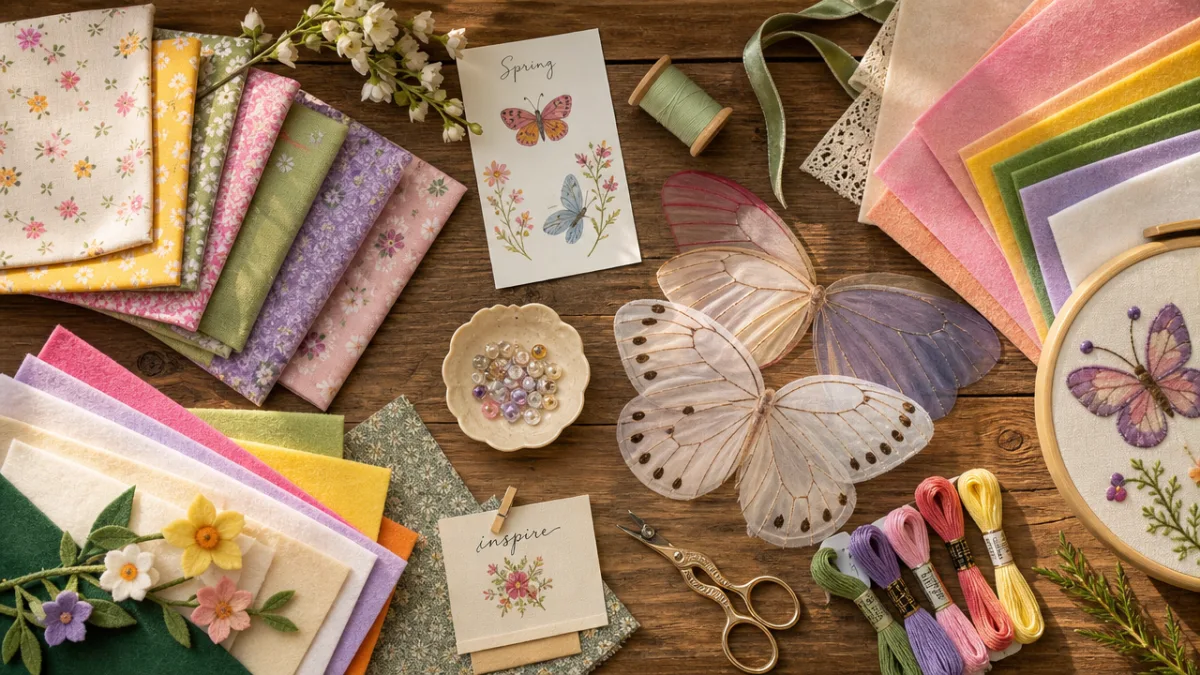
Before diving into the construction process, gathering all your materials in advance will make the crafting experience smooth and enjoyable. The list of supplies is straightforward and most items can be found at your local craft store or ordered online. Having everything laid out on your workspace before you begin helps you visualize the finished project and ensures you won’t need to pause mid-construction searching for a missing element. Quality materials, even modest ones, make a noticeable difference in the final appearance of your butterfly gnome.
The body of the gnome requires soft, durable fabric in earthy tones such as cream, oatmeal, or light tan. For the hat, which is one of the most prominent features of any gnome, a stiff felt or a coordinating cotton fabric in moss green, lavender, or soft blue works beautifully. The butterfly wings can be cut from sheer organza, patterned cotton, or even stiffened felt in shades of yellow, orange, pink, or turquoise. You will also need fiberfill stuffing to give the gnome body its plump, rounded shape, along with a small piece of faux fur or fluffy yarn for the beard.
Here is a complete materials list to help you prepare:
- Half a yard of cream or tan cotton fabric for the gnome body
- Felt or cotton fabric in your chosen hat color, approximately quarter yard
- Sheer organza or patterned fabric for butterfly wings, two coordinating colors
- Polyester fiberfill stuffing
- Faux fur trim or fluffy yarn for the beard
- A wooden bead or small styrofoam ball for the nose
- Wire or pipe cleaners to shape and stabilize the butterfly wings
- Hot glue gun and glue sticks
- Basic sewing supplies: needle, thread, scissors, and pins
- A small decorative wheelbarrow (available at most craft stores)
- Optional: small artificial flowers, moss, or greenery for wheelbarrow decoration
When selecting your wheelbarrow, look for one that is proportionate to the gnome size you plan to create. A gnome standing approximately eight to ten inches tall pairs beautifully with a wheelbarrow measuring roughly six inches long. Metal or wooden wheelbarrows both work well, and some crafters choose to paint or distress theirs for added rustic character. Adding a handful of preserved moss or a few tiny artificial spring flowers around the gnome inside the wheelbarrow elevates the finished display from charming to truly spectacular.
Understanding the Butterfly Gnome Pattern
The pattern for this butterfly gnome follows a classic gnome silhouette with some delightful modifications that set it apart from standard gnome designs. The body is shaped like a rounded cone, wide at the base and tapering toward the shoulders, which gives the finished gnome its characteristic stocky, endearing appearance. The hat extends this cone shape upward into a tall, slightly drooping peak that is iconic to gnome design. Understanding these basic proportions before you cut any fabric will help you achieve a polished, balanced result on your first attempt.
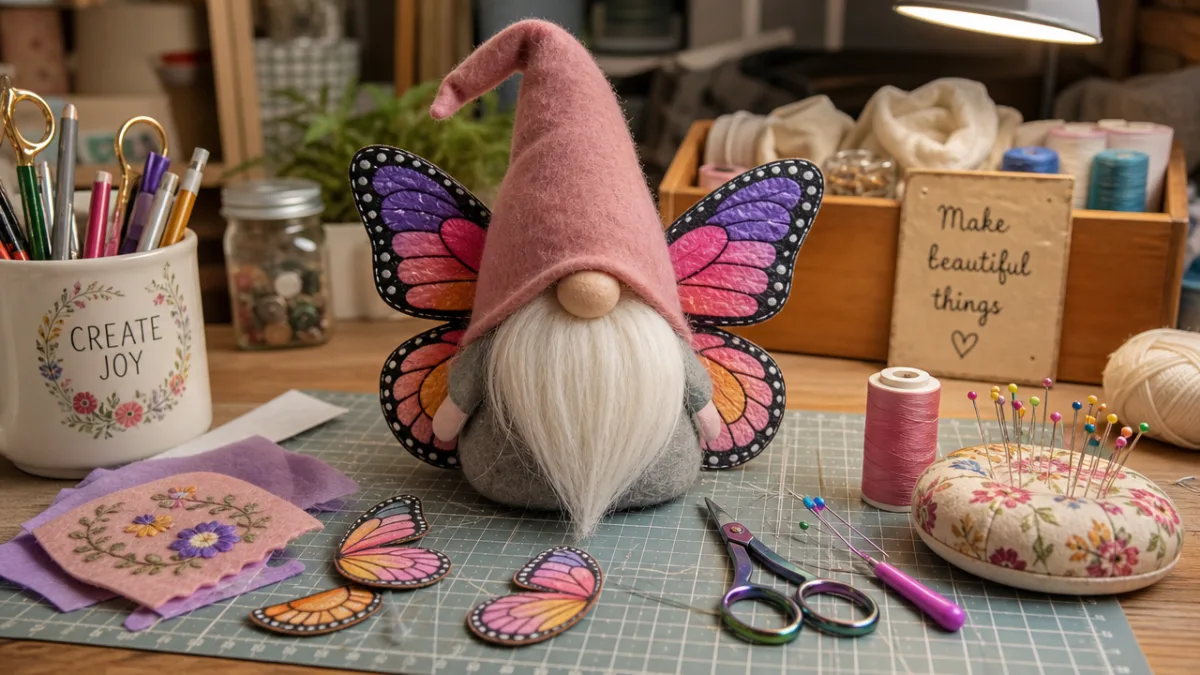
The butterfly wings are attached at the back of the gnome body between the hat and the main torso area. These wings are typically cut in pairs, with a larger upper wing and a smaller lower wing on each side, mimicking the anatomy of real butterflies. Using wire or pipe cleaners along the edges of the wings gives them structure and allows you to gently curve and position them for a lifelike, three-dimensional effect. The choice of wing fabric dramatically influences the overall aesthetic, so take your time selecting colors and patterns that feel joyful and spring-like.
Most patterns provide templates for each piece that you can print, cut out, and trace onto your fabric. The main pieces typically include the body cone, the hat cone, two upper wing pieces, two lower wing pieces, and a small circular base piece. Some patterns also include a separate arm piece, though many butterfly gnome designs omit arms entirely for a simpler, more traditional look. Reading through the entire pattern before beginning is always a wise practice, as it helps you understand how the pieces relate to one another and anticipate any steps that might require extra care or drying time.
Step-by-Step Construction Guide
Begin by cutting all your fabric pieces using the pattern templates. Take care to cut smoothly along the edges, as clean cuts result in cleaner seam lines and a more professional finished appearance. If you are working with slippery fabrics like organza for the wings, pinning the template securely and cutting slowly will give you much better control. Lay all your cut pieces out in front of you before you begin sewing so you can confirm everything is present and properly sized before committing to construction.
To construct the gnome body, fold the body fabric piece right sides together and sew along the straight edge to form a cone shape, leaving the wide bottom open for stuffing. Turn the cone right side out and begin filling it firmly with fiberfill, working from the bottom up and shaping as you go. You want the body to feel solid and plump but not so tightly stuffed that the fabric pulls or distorts. Once stuffed to your satisfaction, close the bottom with either a hand-sewn running stitch or by hot gluing the fabric to a cardboard or felt circle base.
Follow these steps in order for the most efficient construction process:
- Cut all pattern pieces and organize them by component
- Sew and stuff the gnome body cone, then seal the base
- Construct the hat cone and attach it securely to the top of the body
- Create the nose by covering a wooden bead with fabric or painting a styrofoam ball, then glue in place
- Cut and shape the beard from faux fur or yarn, trimming to a pleasing shape before gluing
- Prepare the butterfly wings by cutting fabric, adding wire edging, and layering upper over lower wings
- Attach wings firmly to the back of the gnome body using hot glue or hand stitching
- Position the finished gnome inside the wheelbarrow and secure if desired
- Embellish the wheelbarrow with moss, flowers, or greenery to complete the scene
The beard is one of the most expressive elements of your gnome and deserves careful attention. Cut your faux fur or yarn bundle to the width of the gnome’s face, which is roughly the lower third of the body below the hat brim. Trim it into a pleasing shape, perhaps slightly rounded at the bottom or tapering to a gentle point. The beard should cover most of the gnome’s face, leaving only the nose visible, which contributes to that mysteriously cozy gnome charm that makes these figures so universally beloved.
Attaching the butterfly wings requires a steady hand and good positioning. Hold the wings against the back of the gnome before gluing to test placement and ensure they look balanced and proportionate. The wings should extend outward and slightly upward, giving the impression that the gnome might take flight at any moment. Once you are happy with the positioning, apply a generous bead of hot glue to the base of the wings and press firmly against the gnome body, holding in place for thirty seconds until the bond is secure.
Tips for Perfecting Your Butterfly Gnome
Like any craft project, the butterfly gnome benefits enormously from a few strategic techniques that experienced crafters have developed over time. One of the most impactful tips is to use a foam core or wire armature inside the gnome body before stuffing. This internal structure prevents the gnome from leaning or collapsing over time, particularly important if you plan to display it outdoors where temperature changes and humidity can affect the fiberfill. A simple ball of crumpled aluminum foil inside the stuffing can also add weight and help the gnome sit more stably in its wheelbarrow.
When creating the butterfly wings, consider using two layers of organza fabric sandwiched around the wire frame for added durability and a more polished look. You can also use fabric stiffener spray on the wings once assembled to help them hold their shape over time. For an extra touch of magic, some crafters use iridescent or glitter-dusted organza that catches the light beautifully, creating a shimmering, ethereal effect that looks especially lovely when displayed near a window or in outdoor garden lighting.
Color coordination is another area where thoughtful choices pay significant dividends. Rather than choosing random colors for the hat, body, and wings, consider selecting a cohesive palette inspired by a specific butterfly species or a particular spring color scheme. Monarch-inspired gnomes in orange and black are striking, while swallowtail-inspired designs in yellow and deep blue feel elegant and sophisticated. Soft pastels in lavender, mint, and blush create a dreamy, romantic feel that is perfectly suited to spring décor in cottage or farmhouse style interiors.
Displaying and Decorating Your Spring Gnome Scene
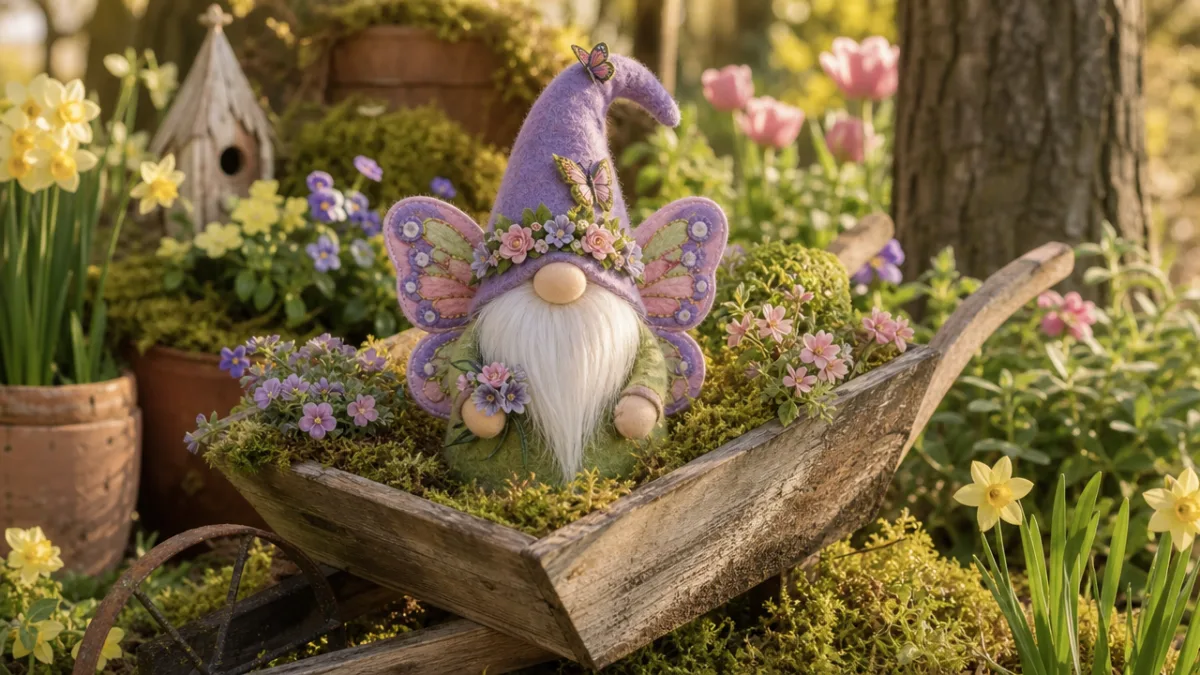
Once your butterfly gnome is complete, the fun continues with creating a beautiful display setting that showcases your handwork to its best advantage. The miniature wheelbarrow is more than just a vessel for the gnome — it is an opportunity to build a tiny seasonal scene that tells a story. Fill the wheelbarrow around the gnome with preserved sheet moss, which provides a lush green base that looks like a garden floor. Add a few small artificial flowers in complementary colors, some tiny decorative mushrooms, or even a miniature butterfly or two to enhance the whimsical narrative.
Indoors, your butterfly gnome wheelbarrow display makes a wonderful centerpiece for a dining table, a charming accent on a bookshelf, or a delightful addition to a spring-themed vignette on a console table. Consider pairing it with other spring elements such as a small pitcher of fresh flowers, a nest with speckled eggs, or a bundle of pastel ribbon. Outdoors, place the display on a covered porch or patio table where it can be seen but is protected from direct rain, which could damage the fabric and stuffing over time.
For those who love to create seasonal displays that rotate throughout the year, the basic gnome pattern used for this butterfly version can easily be adapted for other seasons and themes. The same construction method can produce a sunflower gnome for late summer, a harvest gnome with tiny pumpkins for autumn, or a snowflake gnome for winter. Keeping the wheelbarrow as a consistent element through each seasonal iteration creates a lovely sense of continuity in your décor and makes the display feel like a beloved ongoing tradition in your home.
Why Handmade Gnome Crafts Bring Joy to Any Space
There is something profoundly satisfying about handmade decorations that mass-produced items simply cannot replicate. When you create a butterfly gnome with your own hands, you invest not just time and materials but genuine care and creativity into the object. This intentionality translates into an energy that people can sense when they encounter your handmade piece, even if they cannot articulate exactly why it feels more special than a store-bought decoration. Handmade items carry the warmth of the maker’s attention in a way that is subtle but deeply felt.
Gnomes specifically hold a special place in folk craft traditions across Scandinavia and Northern Europe, where they are believed to be protective household spirits that bring good luck and watch over the home. Incorporating this tradition into a modern springtime craft connects your creative project to a rich cultural heritage that spans centuries. The butterfly element adds a layer of symbolism as well, since butterflies across many cultures represent transformation, renewal, and the vibrant energy of new beginnings — themes that resonate beautifully with the spirit of spring itself.
Sharing handmade gnome crafts also creates meaningful connections between people. A butterfly gnome gifted to a friend or family member carries a personal message of thoughtfulness and care that no gift card can convey. Many crafters find that making gnomes in batches — perhaps as a craft group activity or a weekend project with children — amplifies the joy of the process and creates lasting memories alongside the finished objects. The approachable nature of the butterfly gnome pattern makes it an ideal project for crafting gatherings, parent-child crafting sessions, or beginner craft workshops where participants want a achievable project with a beautiful payoff.
Ultimately, the butterfly gnome in a wheelbarrow is more than a seasonal decoration. It is an invitation to slow down, engage your hands creatively, and celebrate the small, beautiful details of the world around you. Spring is a season of awakening and possibility, and crafting a tiny gnome companion to mark that seasonal shift is a genuinely lovely way to honor the changing of the year. Whether you keep your finished gnome for yourself or give it as a heartfelt gift, the making of it is its own reward — a quiet, joyful act of creation that connects you to the timeless human tradition of making beautiful things by hand.








What do you think?
It is nice to know your opinion. Leave a comment.