










16 Modern Craft Room Ideas for DIY Lovers
There’s something really special about having a space that’s just yours — somewhere you can spread out, make a mess, and actually finish what you start. A good craft room isn’t a luxury so much as it’s a tool. When the space works for you, projects feel easier and more fun, and you’re way more likely to see them through to the end. Whether you’ve claimed a spare bedroom, converted a closet, or carved out a corner of your living room, modern craft room design has come a long way when it comes to blending style, storage, and practicality in ways that feel genuinely inspiring.
1. Start with Smart Storage Solutions
Good storage is really the whole foundation of a craft room that actually works. But before you buy a single shelf or bin, it’s worth taking an honest look at what you own and how you tend to use it. Do you reach for your scissors and tape measure a dozen times a session? Are you swimming in fabric sorted by color, or do your ribbon rolls always end up in a tangled heap? Understanding your own habits is what lets you build a system that works with you instead of against you. Modern craft rooms lean heavily on modular shelving, pegboards, and drawer systems that can grow and change right along with your supplies.
Pegboards have made a real comeback in craft room design lately, and honestly, it makes total sense. Mount a large one directly above your work surface and you’ve got everything within arm’s reach without eating up any counter space. Scissors, rulers, tape, thread spools, little bins of embellishments — all of it can hang right there, and you can rearrange things any time your workflow shifts. There’s also something unexpectedly great about being able to see your supplies at a glance: you actually use what you have instead of forgetting it exists in the back of a drawer somewhere.
Clear storage is another thing serious crafters swear by, and once you try it, you’ll understand why. When you can see everything at a glance, you stop wasting time hunting and start spending that time actually making things. Glass jars, acrylic drawers, and transparent bins make it easy to assess what you have and notice when you’re running low. Pair labeled clear containers with a color-coded system and you’ve got something that’s both beautiful and genuinely efficient. A lot of craft room designers also recommend keeping a small “landing zone” — basically just a clear stretch of counter that stays empty and ready for whatever you’re actively working on — to prevent the slow creep of clutter that derails so many creative spaces.
2. Choose a Color Palette That Energizes You
Color might be the most underestimated design decision you’ll make in your craft room. Whatever palette you choose for your walls, furniture, and storage will shape your mood and energy every single time you walk in. A lot of DIYers default to white or neutral tones because they feel safe and make small rooms feel bigger — and that logic is totally valid — but it’s worth pushing a little past the safe choice to find colors that actually excite you. Think about the colors that show up most in your finished projects, then think about how you could echo or complement those tones in the room itself.
Soft sage greens and warm terracottas have become really popular in modern craft room design because they feel fresh without being loud, and they pair beautifully with natural wood and white accents. If you tend toward bold, maximalist work, you might actually love a deep jewel-toned accent wall — a rich navy or forest green can make your supplies pop against it like a little gallery display. On the other hand, if precision and focus are more your thing (quilters, scrapbookers, and paper crafters often feel this way), a cooler, more minimal palette can help quiet the visual noise so you can really concentrate.
And remember — color doesn’t have to come from paint alone. Open shelving filled with supplies arranged in rainbow order creates a living color palette that shifts as you use and restock things. A collection of colorful washi tape displayed on a wall-mounted rack pulls double duty as decoration and storage. Fabric folded by hue and stacked on open shelves brings real warmth and personality to the room while keeping everything visible. The most visually interesting craft rooms treat the supplies themselves as part of the décor, which means staying organized stops feeling like a chore and starts feeling like an act of interior design.
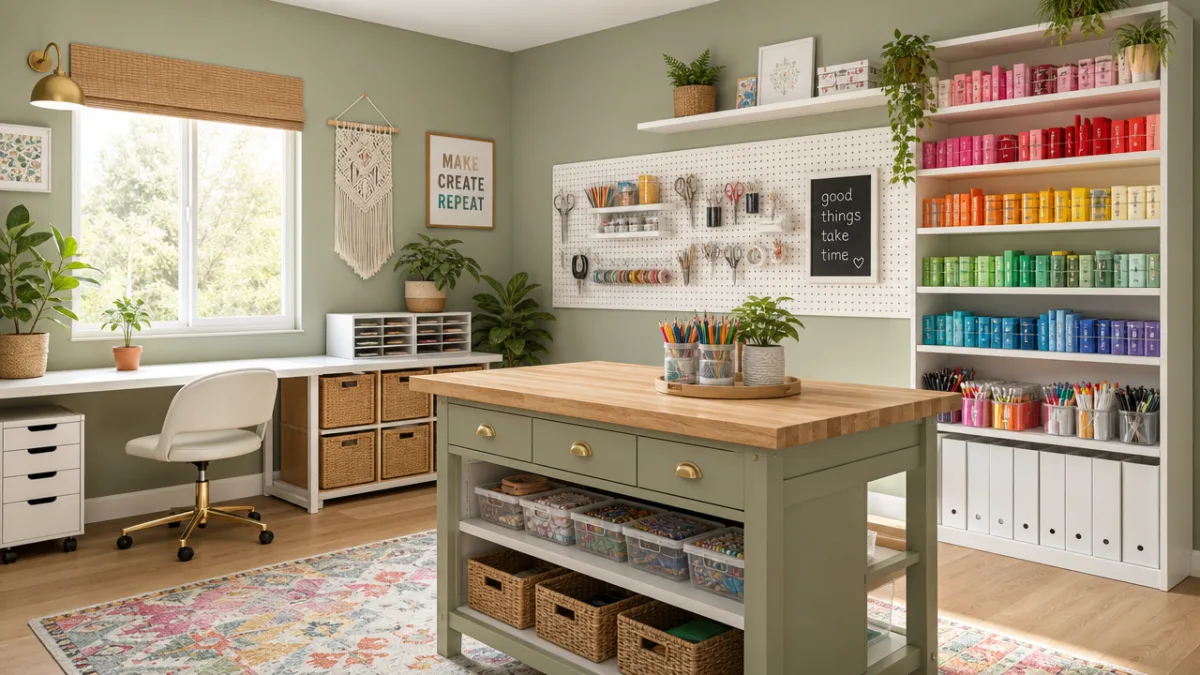
3. Design a Workstation Built for Your Projects
Your main work surface is probably the most important thing you’ll invest in for your craft room, and it deserves a lot more thought than most people give it. What works perfectly for one crafter might be completely wrong for another. A sewer needs long, uninterrupted surface space for laying out fabric and feeding it through a machine. A mixed-media artist needs something that can be wiped clean, handle cutting, and support heavy materials without wobbling. A jewelry maker might want a smaller, well-lit surface with great close-range organization. Really spend some time thinking about your main craft before you commit to a table size, height, or material.
Height-adjustable workstations have been a genuine game changer for a lot of serious crafters, especially anyone putting in long hours on a project. Sitting for extended periods wears you out and can be rough on your back, but being able to shift between sitting and standing keeps your energy up and reduces the strain. Several furniture brands now make affordable height-adjustable craft tables with built-in shelves, drawers, and tool holders that work right alongside the surface. If that’s not in the budget, an anti-fatigue mat and a good ergonomic stool can honestly make a surprising difference in how long you can comfortably keep going.
Lighting at your workstation is worth its own serious conversation. Natural light is always the best option when you have it, so if you can position your work surface near a window, do it — it’s one of the smartest layout decisions you can make. For artificial lighting, the ideal setup is overhead ambient light combined with directed task lighting: something to illuminate the whole room and something to light exactly what you’re working on. Adjustable desk lamps and under-shelf LED strips both work well for that close-up task light. If you work with color-sensitive materials like paint, thread, or fabric, look for full-spectrum daylight bulbs that render color accurately, so you’re not dismayed to discover your perfectly matched palette looks totally different once you take it outside.
4. Incorporate Vertical Space Creatively
The vertical space above eye level is one of the most overlooked assets in any craft room. Most of us fill the floor and horizontal surfaces first, then scratch our heads wondering why everything still feels cramped. Once you start thinking vertically, the possibilities of even a small room open up completely. Floor-to-ceiling shelving can hold an enormous amount of supplies while keeping the floor clear and the room feeling open. The trick is keeping frequently used things at a comfortable reach and letting the higher shelves hold seasonal or rarely used supplies — with a step stool nearby so those upper shelves are actually usable, not just theoretical.
Wall-mounted rails and hanging systems have become a cornerstone of the modern craft room look, and for good reason — they’re incredibly flexible. A lot of systems originally designed for kitchens translate perfectly to craft spaces. Magnetic wall strips are great for scissors, rotary cutters, and other metal tools. Rail systems with interchangeable hooks and bins can hold everything from ribbon rolls and washi tape to spray bottles and small baskets of notions. They look intentional and put-together while being totally adaptable as your supplies change over time.
But think past traditional shelving, too. A tall vintage ladder leaned against a wall becomes a charming display for fabric swatches, ribbon spools, and small baskets. A pegboard that runs from counter height all the way to the ceiling makes a dramatic focal point and gives you an almost limitless amount of customizable storage. Ceiling-mounted drying racks are loved by fabric dyers and paper crafters who need horizontal space to hang wet work. Even the back of your door is real estate — over-the-door organizers with clear pockets are ideal for stamps, punches, small tools, and all those flat supplies that tend to vanish into drawers.
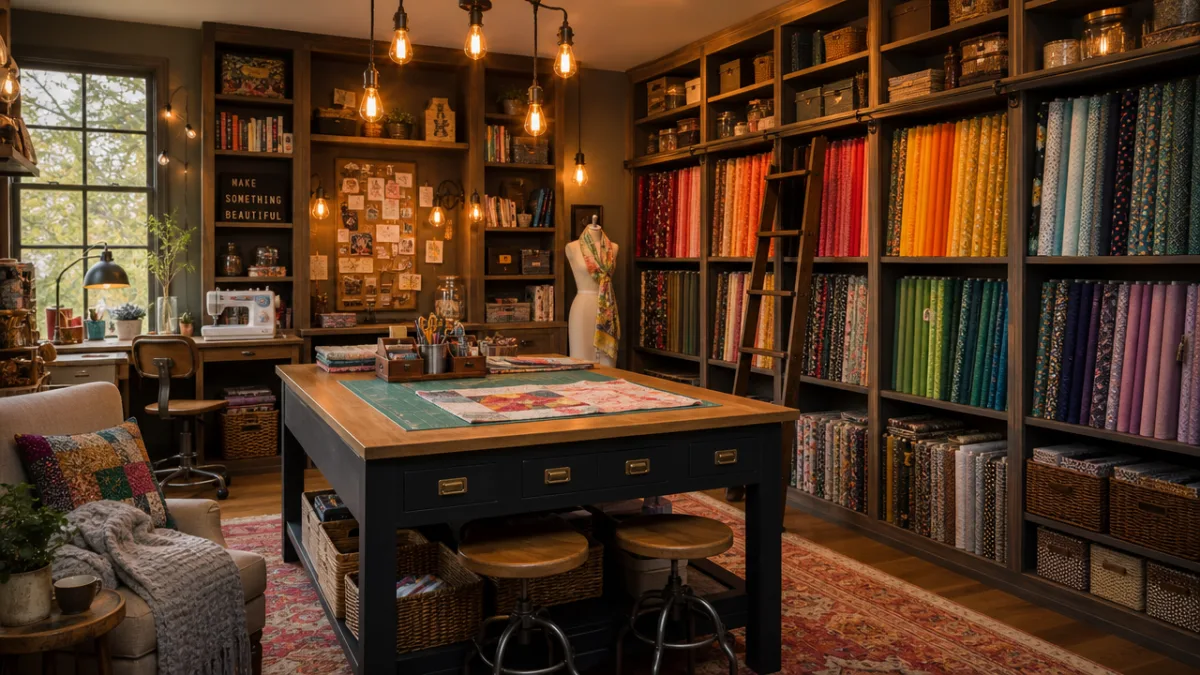
5. Create Zones for Different Crafting Activities
If your creative interests stretch across more than one type of craft — and for most enthusiastic DIYers, they absolutely do — dividing your room into dedicated activity areas is one of the most effective things you can do. The idea comes straight from professional studios: different activities have different needs when it comes to surface space, tools, lighting, and storage, so grouping related things together means you always have what you need close at hand. Even in a smaller room, you can usually carve out two or three distinct zones that make the whole space work so much harder than a single-purpose layout ever would.
A sewing and cutting zone typically anchors one area with a full-sized cutting mat, a rotary cutter holder, and a sewing machine table nearby. An art and mixed-media zone might feature a smaller standing-height table close to a utility sink if you have one, with paints, inks, and adhesives easily accessible for quick cleanup. A planning and design zone — some people call it the “inspiration station” — might just be a comfortable chair, a small side table, and an inspiration board where current project ideas, color palettes, and reference images live. It’s the place where you think before you make, and having a pleasant spot dedicated to that part of the process can genuinely improve the quality of what you end up creating.
Zoning also helps with the mental challenge of juggling multiple projects at once, which a lot of crafters do. When your sewing supplies live in one defined area and your paper crafting supplies live in another, switching between projects means physically moving through the room rather than rummaging through a shared pile of mixed-up materials. That physical separation actually helps your brain shift gears more cleanly, reducing the kind of mental fog that makes it hard to stay focused. Label each zone, make a habit of returning things to their home after you use them, and you’ll likely find it’s much easier to start, continue, and finish the projects you actually care about.
6. Add Personal Touches That Make It Yours
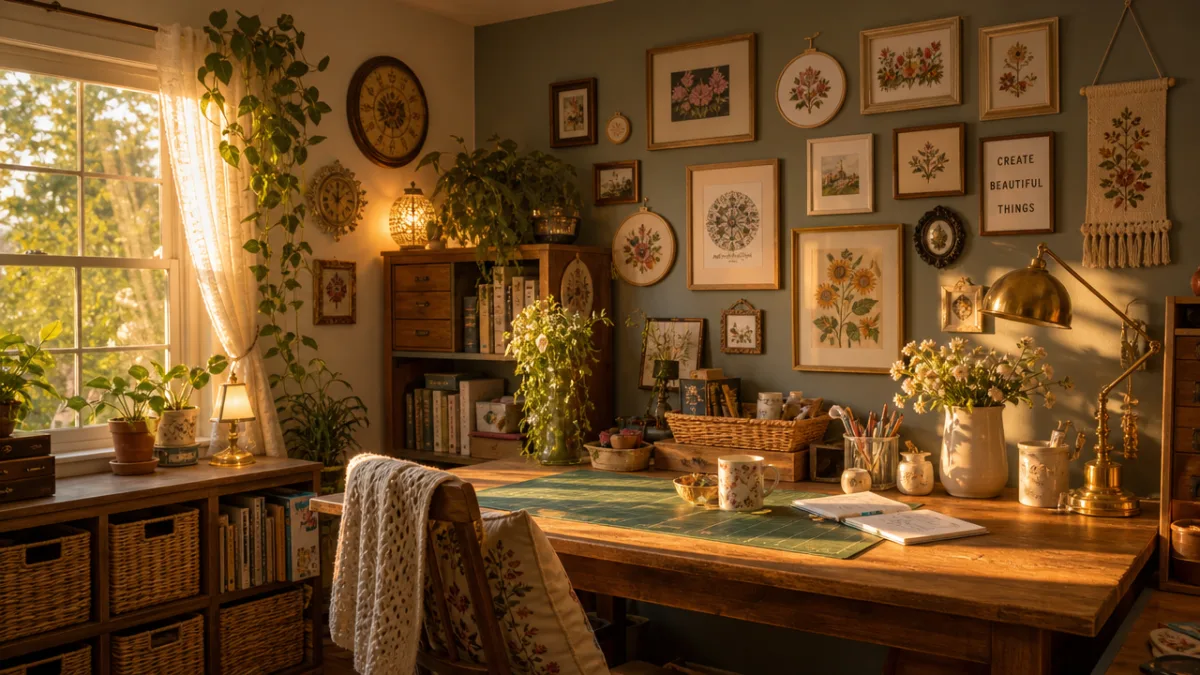
A craft room should feel like the most personal space in your home, because in a real way, it is — it’s where your creativity actually lives. A lot of crafters get so deep into optimizing for organization that they forget to make the room feel warm and inviting, and when a space doesn’t feel inviting, you find excuses not to be in it. Personal touches don’t have to be elaborate or expensive. A few framed prints of work you love, a small plant on the windowsill, a vintage tin holding your most-used brushes, or a favorite quote on the wall can shift the whole feel of a room from “functional storage space” to “place I actually want to be.”
Displaying your own finished work is one of the most meaningful ways to make the space feel personal. A rotating gallery wall of completed pieces celebrates your creative growth and reminds you what you’re capable of on the days when a tricky project has you doubting yourself. A cork board or magnetic board dedicated to current project inspiration — fabric swatches, paint chips, magazine clippings, reference photos — keeps your thinking visible and active instead of buried in a notebook somewhere. Lots of crafters also love weaving in vintage finds: an old typewriter used as a bookend, antique mason jars holding brushes and pens, a retro enamelware tray corralling small supplies.
Music, scent, and comfort are the dimensions of a great craft room that often get forgotten entirely. A small Bluetooth speaker on a shelf keeps your playlist going without taking over the space. A scented candle or a little diffuser — something citrusy when you want energy, something like lavender when you want to settle in — can set the tone for different kinds of creative sessions. A really comfortable stool or chair makes it that much easier to get absorbed in a long project. A small rug underfoot softens hard flooring and adds visual warmth to the room. These small sensory details don’t cost much, but they pay off enormously in how often you actually use the space and how happy you are while you’re there — and a craft room you love coming back to is a craft room that gets used.
7. Budget-Friendly Upgrades That Make a Big Impact
You really don’t need to spend a lot to make your craft room feel like a totally different space — some of the most effective upgrades cost next to nothing and just take a little time and creativity. Repainting one accent wall in a bold, energizing color can completely change the vibe of the room for the price of a single can of paint. Swapping out mismatched storage containers for a cohesive set of uniform bins or baskets — even cheap ones from the dollar store — instantly creates a sense of calm order that makes the whole room feel more put-together. And changing out a generic overhead light for something warmer or more directional can do a lot for both the ambiance and the functionality of the space.
DIY storage solutions are especially fitting in a craft room, since you already have the skills and tools to pull them off. A basic pegboard installation just needs a sheet of pegboard, some spacers, wall anchors, and an afternoon. Floating shelves built from inexpensive lumber can be cut to any length and painted to match your palette. A rolling cart from a hardware store or home goods shop gives you mobile storage that can follow you to wherever you’re working. And upcycling thrift store or yard sale furniture — a dresser repainted and fitted with new hardware, a bookshelf refreshed with a coat of paint — gets you custom-looking storage at a fraction of what you’d pay retail.
One last thing: don’t underestimate the power of editing. Sometimes the single best upgrade you can make to a craft room isn’t adding anything — it’s removing what isn’t working. Take a hard look at supplies you haven’t touched in a year, tools that duplicate things you already own, and projects you started with good intentions but honestly know you’ll never finish. Donating or selling those things frees up real space, cuts down on decision fatigue, and makes it so much easier to find and reach the supplies you actually love. A well-curated room with fewer, better-chosen contents almost always functions better and feels more inspiring than a packed room where abundance has tipped into overwhelm. Learning to edit thoughtfully is one of the most underrated creative skills a DIY lover can develop.








What do you think?
It is nice to know your opinion. Leave a comment.